Baby Monitor Installation Guide for Secure Home Setup
By Hana Ito • 16th Oct
Did you know that over 94 percent of new parents use a baby monitor within their first week at home? Protecting your little one starts with setting up this technology the right way. Getting each detail right matters, from where you place the camera to how you secure cables and maintain privacy. Learn the smart steps to create a safe, reliable monitoring system that brings you peace of mind every night.
Quick Summary
| Key Point | Explanation |
|---|---|
| 1. Gather all monitor components | Unpack and view all parts clearly to ensure nothing is missing. Check against the manufacturer's checklist. |
| 2. Secure power cables properly | Use child-proof outlets and secure cords to prevent tangles, risking your baby's safety and equipment reliability. |
| 3. Strengthen digital security settings | Change default passwords and utilize encryption to protect against unauthorized access. |
| 4. Mount the camera safely | Maintain a minimum 3-foot distance from the crib and ensure secure installation to avoid hazards. |
| 5. Test the monitoring system thoroughly | Verify video, audio, and notification functions through comprehensive testing to ensure reliability and familiarity. |
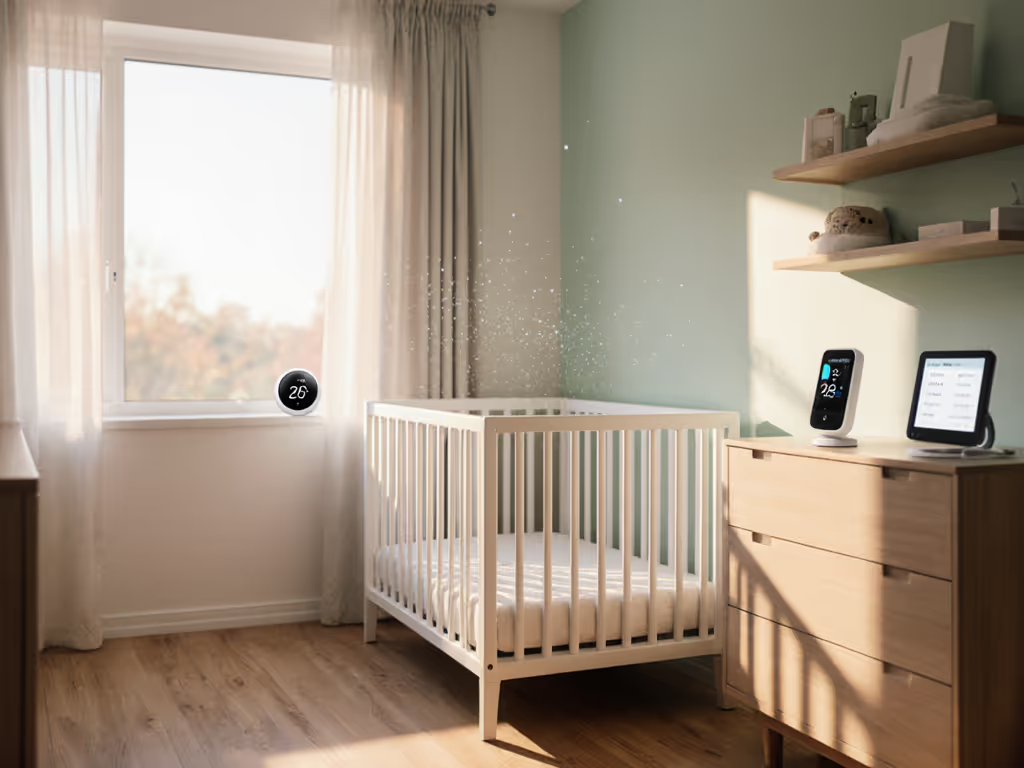
Step 1: Gather and Position All Baby Monitor Components
You are about to set up a critical safety system for your little one. This step transforms a collection of tech components into a watchful guardian for your baby's nursery.
Start by unpacking every single component from your baby monitor kit. Spread them out on a clean surface where you can see everything clearly. Typically, you'll find a camera unit, power adapters, mounting hardware, and potentially a separate parent viewing device. Take a moment to cross-reference these pieces against the manufacturer's included checklist.
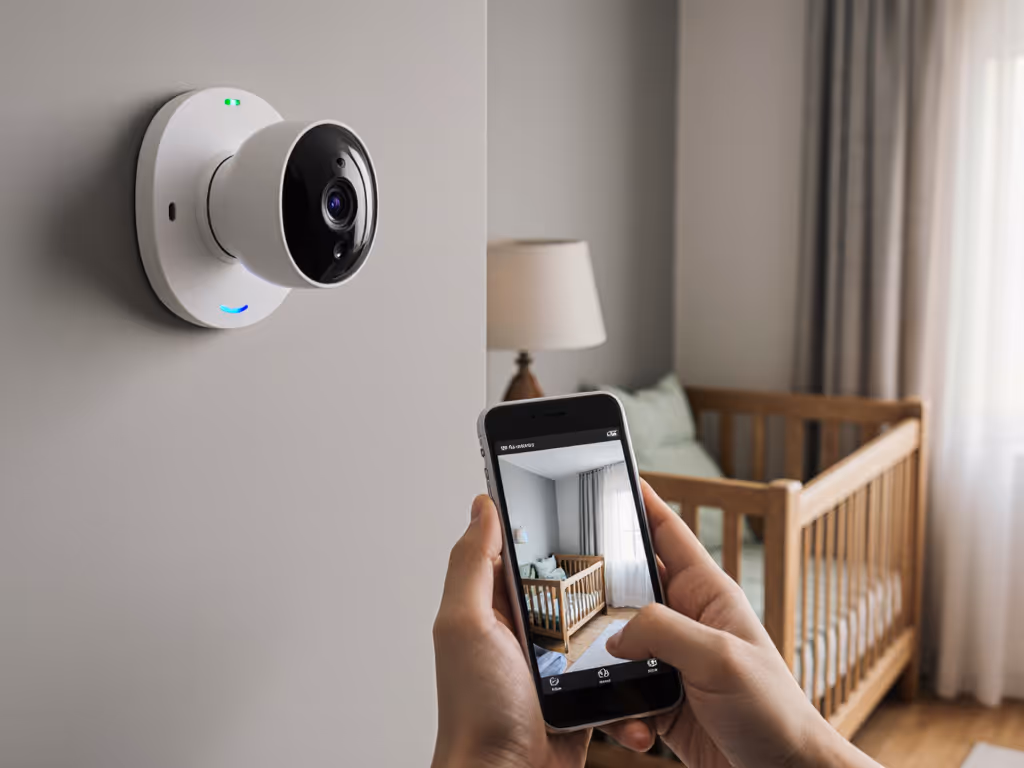
Location matters more than you might think. Research shows you should place the camera at least 3 feet away from the crib to minimize electromagnetic field (EMF) exposure and eliminate potential cord hazards. Aim for a clear line of sight that captures the entire sleeping area without creating potential strangulation risks from loose wires.
Pro Tip: Before permanently mounting anything, do a "trial run" placement. Use painter's tape to temporarily position the camera and verify your viewing angle meets safety and visibility requirements.
Secure all power cords using cord management solutions. This isn't just about neatness it's about preventing curious little hands from pulling equipment down or getting tangled. Use cord clips or concealment kits to keep cables taut and out of reach. Make sure your power outlet is child-proofed and located away from water sources like humidifiers or windows with potential condensation.
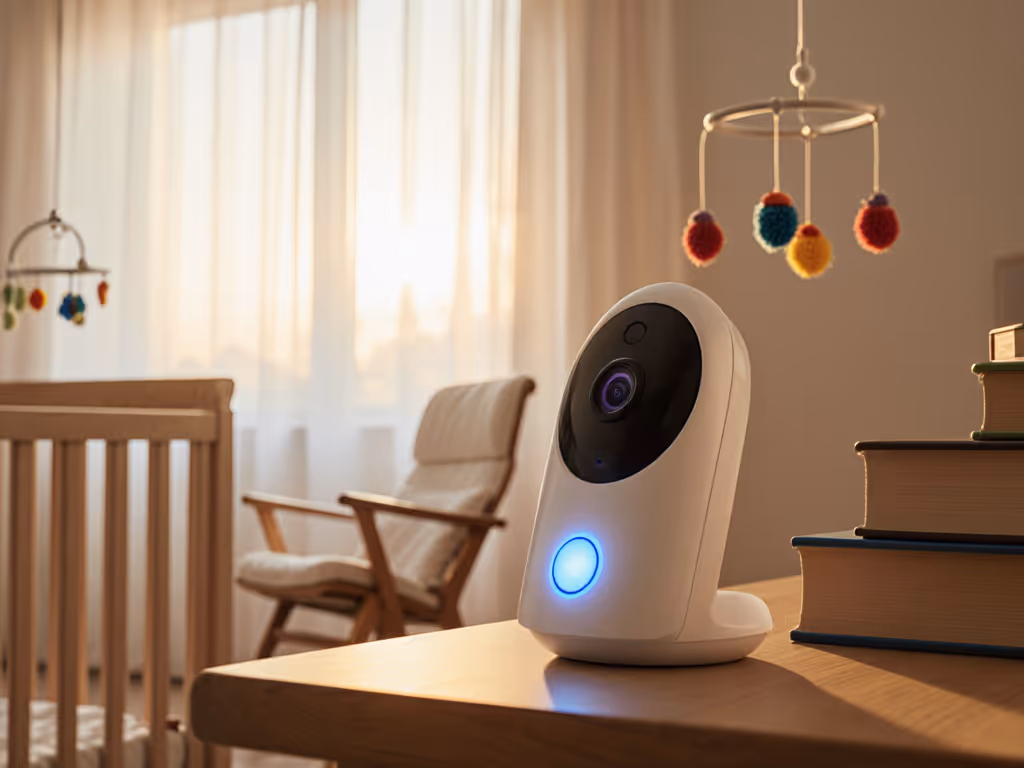
When positioning the camera, think strategically. You want a view that shows your baby's entire sleep space without leaving blind spots. Most parents find mounting the camera on a wall or sturdy furniture near the crib provides the most consistent monitoring angle. Adjust the camera's tilt and zoom functions to maximize your viewing area.
Ready to move forward? Your next step involves configuring the technical connections and testing your monitor's performance to ensure everything works perfectly.
Step 2: Connect Power and Secure Cables Safely
Prepare to create a safe electrical ecosystem for your baby monitor. This critical step transforms loose cables and power connections into a secure monitoring setup that protects both your equipment and your little one.
Start by identifying the power requirements for each component. Most baby monitor systems include specific power adapters designed to work with their camera and parent units. Carefully examine each adapter and ensure you are using the manufacturer-recommended power source. Plug these adapters into child-proofed electrical outlets that are situated away from water sources and potential moisture.
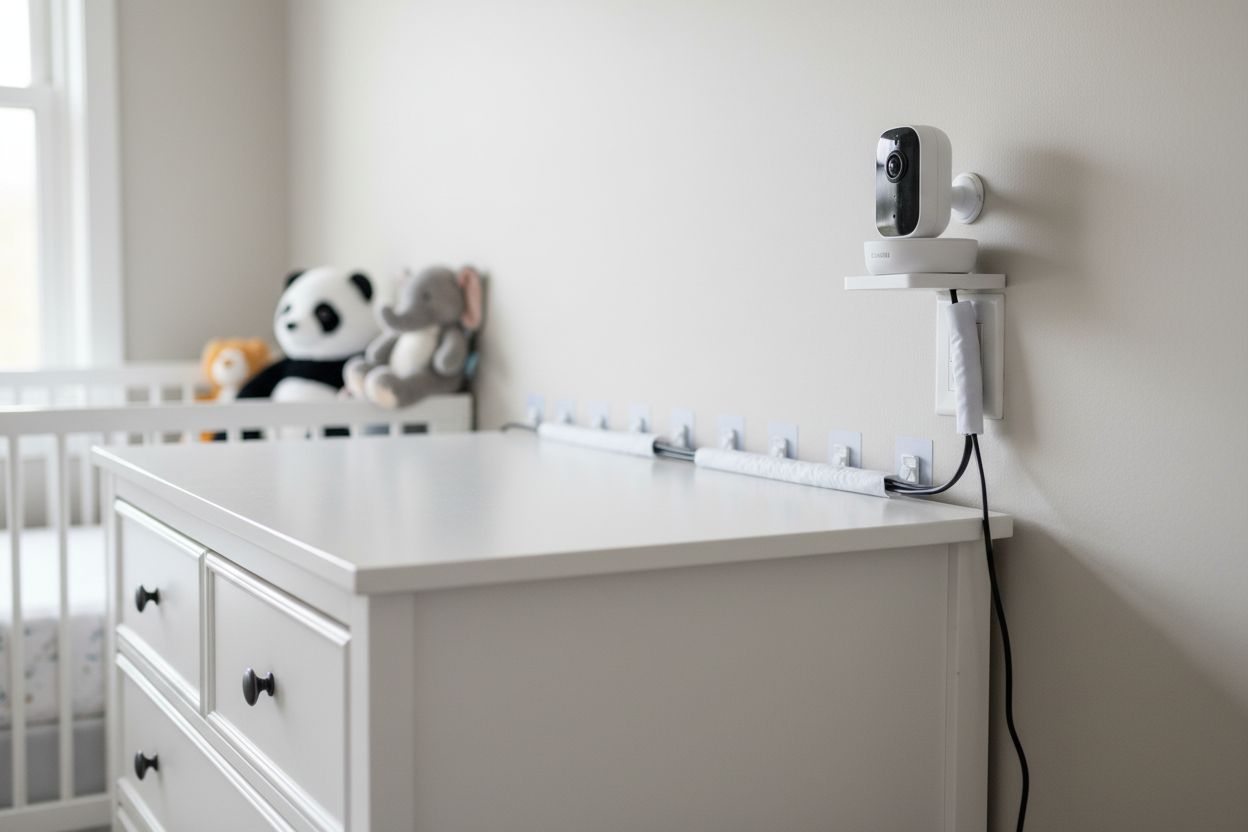
Cable management becomes your new priority. Research indicates that keeping power cables at least 3 feet from sleeping areas dramatically reduces potential strangulation or electrical hazards. Use specialized cord management solutions like wire molds, cord covers, or cable clips to keep all electrical lines taut and out of curious little hands' reach.
Pro Tip: Create a "cable safety zone" by routing all monitor power cords behind furniture or using adhesive cable management tracks that keep wires completely inaccessible to children.
Inspect each cable connection carefully. Look for any signs of fraying, wear, or potential damage that could compromise electrical safety. Ensure all connections are snug but not overstressed. If any cable seems questionable, replace it immediately rather than risking potential electrical issues.
Position your power strips and adapters strategically. Choose locations that are high enough to prevent infant access but close enough to provide clean power connections. Consider using surge protectors with built-in child safety covers for an extra layer of protection.
Your next step involves testing these connections and ensuring your baby monitor system powers up safely and consistently. Get ready to verify that every component receives clean, stable power without any risk to your nursery's safety setup.
Step 3: Configure Privacy Settings and Network Connections
Welcome to the digital security checkpoint for your baby monitor. This crucial step transforms your device from a basic camera into a fortress of protected digital communication that keeps your family safe from potential online vulnerabilities.
Start by accessing your monitor's companion app or web interface. Research shows that immediate configuration of security settings is paramount. Begin by changing every default username and password immediately. Select complex passwords that combine uppercase and lowercase letters, numbers, and symbols. Avoid using easily guessable information like birthdays or names.
Your home network becomes the foundation of your monitor's security. Enable WPA2 or WPA3 Wi Fi encryption which provides robust protection against unauthorized access. If your monitor supports end to end encryption activate this feature to ensure that video streams remain completely private between your devices.
Pro Tip: Create a separate guest network for your smart home devices. This isolates your baby monitor from your primary network and adds an extra layer of protection against potential security breaches.
Carefully review and disable unnecessary features like remote access or Universal Plug and Play (UPnP) if you do not actively use them. Each unnecessary connection represents a potential entry point for digital intruders. Some monitors offer two factor authentication which adds another robust security layer you should absolutely enable.
Regular maintenance matters as much as initial setup. Set your device to automatically download and install firmware updates. These updates frequently include critical security patches that protect against newly discovered vulnerabilities.
 Check your companion app or monitor settings monthly to ensure you are running the most current software version.
Your next step involves testing these connections and verifying that your privacy settings are functioning correctly. Get ready to confirm that your baby monitor provides crystal clear monitoring without compromising your family's digital safety.
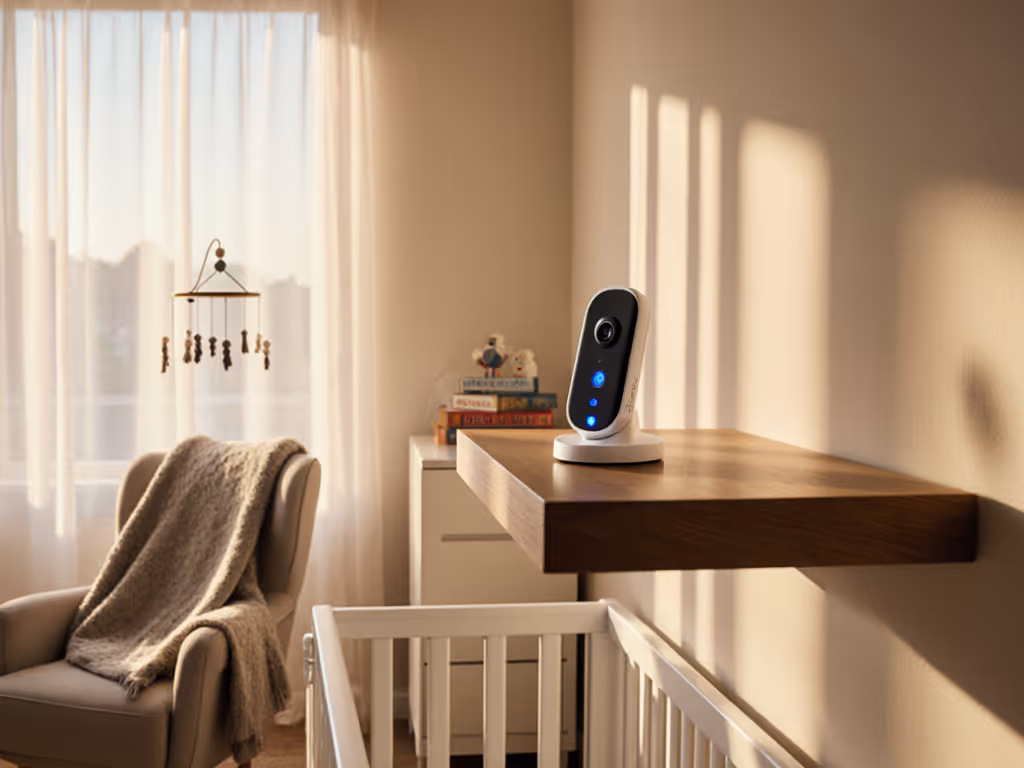
Step 4: Mount Monitor for Optimal Coverage and Safety
You are about to transform your baby monitor from a simple device into a strategic surveillance system for your little one's nursery. This step ensures complete visual coverage while maintaining absolute safety and preventing potential accidents.
Research consistently recommends maintaining a minimum three foot distance from the crib when mounting your monitor. This critical spacing protects against potential cord hazards and electromagnetic field exposure while providing an unobstructed view of your baby's entire sleeping area. Wall mounting offers the most secure and reliable positioning compared to placing the camera on furniture or shelves.
Choose your mounting location strategically. Aim for a spot that provides a complete view of the crib without creating potential falling risks. Most parents find mounting on the wall opposite the crib delivers the most comprehensive visual coverage. Use the mounting hardware included with your monitor and ensure you select sturdy attachment points like wall studs or robust mounting brackets.
Pro Tip: Before permanently drilling or mounting anything, use painter's tape to create a template and test multiple camera angles. This helps you identify the perfect positioning without making permanent modifications.
Secure all cables meticulously during mounting. Utilize cord management solutions like adhesive cable clips or cord covers to keep wires taut and completely out of your baby's potential reach. Verify that no loose cables could potentially create strangulation risks or become tempting for curious little hands.
Perform a thorough stability check after mounting. Gently tug the mounted camera to confirm it can withstand potential bumps or curious tugs. Some monitors offer additional stabilization accessories that can provide extra security and prevent accidental dislodging.
Your next step involves fine tuning the camera angle and conducting a comprehensive test of your monitoring setup. Prepare to ensure your baby monitor provides crystal clear visibility while maintaining the highest safety standards.
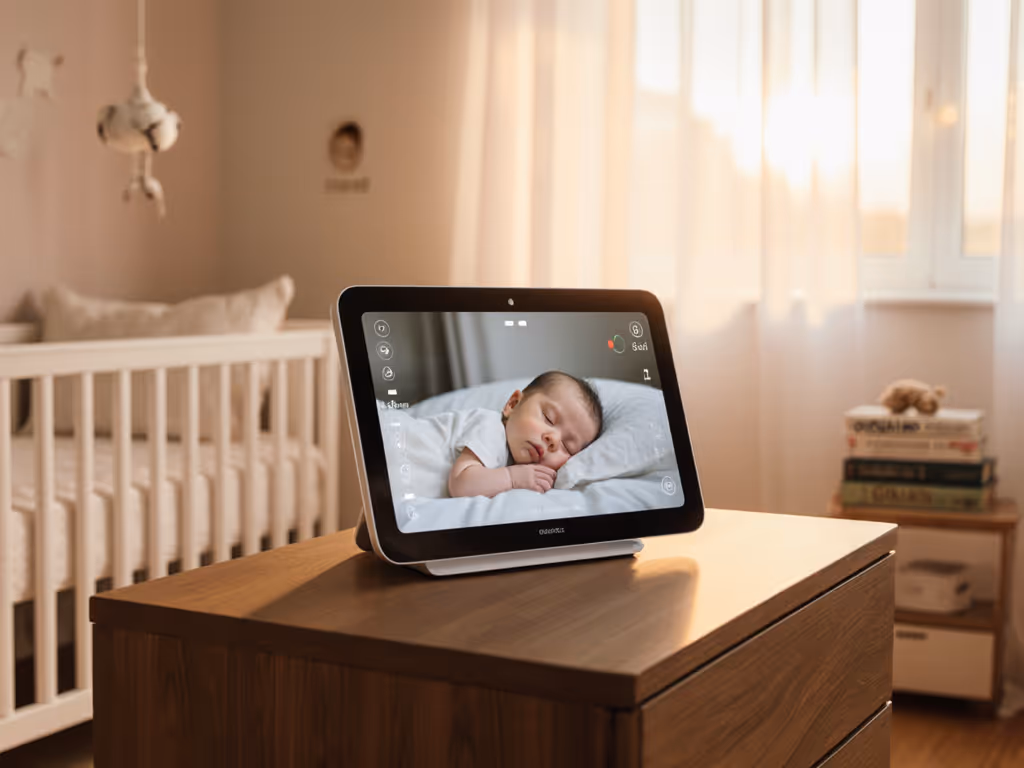
Step 5: Test Video, Audio, and Notification Accuracy
You have reached the moment of truth for your baby monitor setup. This critical testing phase transforms your carefully installed system from a collection of components into a reliable guardian for your little one.
Start by thoroughly examining the video quality. Move around the nursery and verify that your camera captures every corner of the crib area without blind spots. Use different lighting conditions natural daylight and nighttime to test the camera's performance. Check that infrared night vision mode activates smoothly and provides clear visibility when ambient light drops.
Audio testing requires methodical verification. Walk through different areas of your home to confirm sound transmission remains consistent. Set the parent unit volume at various levels and ensure you can hear subtle baby sounds like breathing or soft movements. Some monitors offer sensitivity settings allowing you to customize audio pickup.
Pro Tip: Create a realistic test scenario by placing a white noise machine or soft music near the crib to verify the monitor can distinguish between background sounds and actual infant noises.
Motion and sound detection require precise calibration. Trigger the system by moving near the crib and confirm that notifications arrive promptly on your parent unit or connected smartphone app. Research indicates that firmware updated devices should provide near instantaneous alerts.
Pay special attention to notification accuracy. Enable different alert settings movement detection cry recognition and check that each trigger works as expected. Test the range of your monitoring system by moving between rooms and verifying signal strength and connection stability.
Your monitoring system is now primed and ready. The next phase involves establishing a consistent monitoring routine that keeps your baby safe while giving you peace of mind.
Here's a summary of key baby monitor setup steps and their safety priorities:
| Step | Main Focus | Key Safety Actions |
|---|---|---|
| Gather Components | Completeness | Cross-check kit<br>Locate camera away from crib |
| Connect Power & Secure Cables | Electrical Safety | Use child-proof outlets<br>Manage cords securely |
| Configure Privacy & Network | Digital Security | Change passwords<br>Enable encryption |
| Mount for Coverage & Safety | Physical Installation | Maintain 3+ ft distance<br>Stabilize placement |
| Test Video, Audio, Notifications | System Reliability | Check angles<br>Test alerts and audio |
Achieve Unmatched Safety and Confidence with the Right Baby Monitor Choice
Every parent wants their nursery to be a safe haven. This installation guide pinpoints practical challenges like safeguarding against loose wires, ensuring optimal monitor coverage, and protecting your family's privacy from the start. If you worry about EMF exposure, digital security, or getting consistent alert accuracy, you are not alone. Many parents feel uncertain about which monitor solutions keep their technology both safe and reliable.
Find trustworthy advice and expert-tested recommendations at BabyMonitorsForParents.pro. Dive into in-depth product reviews and real-world comparisons that address privacy settings, notification features, and setup insights mentioned in this guide. Ready to make your nursery not just safer but smarter? Visit https://babymonitorsforparents.pro now and discover which monitors are best for secure, confident parenting.
Frequently Asked Questions
How do I ensure my baby monitor is securely installed for safety?
To ensure secure installation, maintain a distance of at least 3 feet from the crib when mounting the camera. Use sturdy mounting hardware, and stabilize all cables with cord management solutions to avoid hazards.
What steps should I take to configure my baby monitor’s privacy settings?
Start by changing the default username and password to a complex combination of characters. Also, enable WPA2 or WPA3 encryption on your Wi-Fi network to enhance security against unauthorized access.
How can I effectively manage power cables during baby monitor setup?
Use specialized cord management solutions like adhesive cable clips or cord covers to keep power cables out of reach. Aim to route all cables behind furniture to create a “cable safety zone” that minimizes the risk of strangulation.
What are key features to test during the baby monitor setup process?
Test features like video quality and audio clarity thoroughly.
![]() Walk around the nursery to check for blind spots and verify that you can hear soft sounds like breathing from the parent unit, ensuring consistent monitoring.
Walk around the nursery to check for blind spots and verify that you can hear soft sounds like breathing from the parent unit, ensuring consistent monitoring.
How can I establish a routine for using my baby monitor effectively?
Develop a consistent monitoring routine by regularly checking audio and video feeds throughout the day and night. Set specific periods, such as checking every hour or during nap times, to ensure your little one is safe while you manage other tasks.
What should I do if I experience issues with my baby monitor’s notifications?
If you notice problems with notifications, ensure that all settings for motion and sound detection are properly calibrated. Check the connection stability between devices and adjust settings as needed to receive timely alerts.
Related Articles