When setting up your nursery, a well-executed baby monitor placement guide can transform your nighttime experience from anxiety to assurance. As a postpartum support worker who's helped families navigate shift work and sleep training, I know that mounting baby camera equipment properly isn't just about getting a good view, it's about creating a system that works with your exhaustion rather than against it. Your future 3 a.m. self will thank you for taking these steps now, when you're still thinking clearly.
The Core Principles of Safe, Reliable Monitoring
Before we dive into specific mounting locations, let's establish three foundational principles that will guide our baby monitor placement guide:
- Safety First: Distance from crib, cord management, and stable mounting
- Visibility Matters: Clear line of sight without glare or obstructions
- Reliability is Key: Connection stability that works when you're half-asleep
These principles aren't just technical considerations, they are peace-of-mind builders for when you're running on sleep debt. Remember my core belief: The best monitor is the one you forget about at 3 a.m. because it simply works within your routine.
Step-by-Step Mounting Guide for Optimal Safety and Clarity
Assess Your Nursery Layout
Start with a simple room walkthrough:
- Walk around your nursery with a tape measure
- Note where outlets are located (keeping safety in mind)
- Identify potential interference sources (Wi-Fi routers, baby sound machines)
- Check wall composition (drywall, plaster, brick; this affects mounting)
This assessment creates your foundation for making intentional mounting decisions rather than last-minute compromises at 2 a.m.
Step 1: Choose the Ideal Height and Angle
The best angle for baby monitor positioning follows a simple rule: an eye-level perspective angled downward. This provides clear visibility of your baby's face and breathing movements without distortion.
Ideal height ranges:
- For cribs: 5-6 feet above floor level
- For bassinets: 4-5 feet above floor level
- For toddlers: slightly lower to capture floor-level activity
"At 3 a.m., fewer decisions means more calm." This is why getting your nursery camera positioning right from the start matters so much.
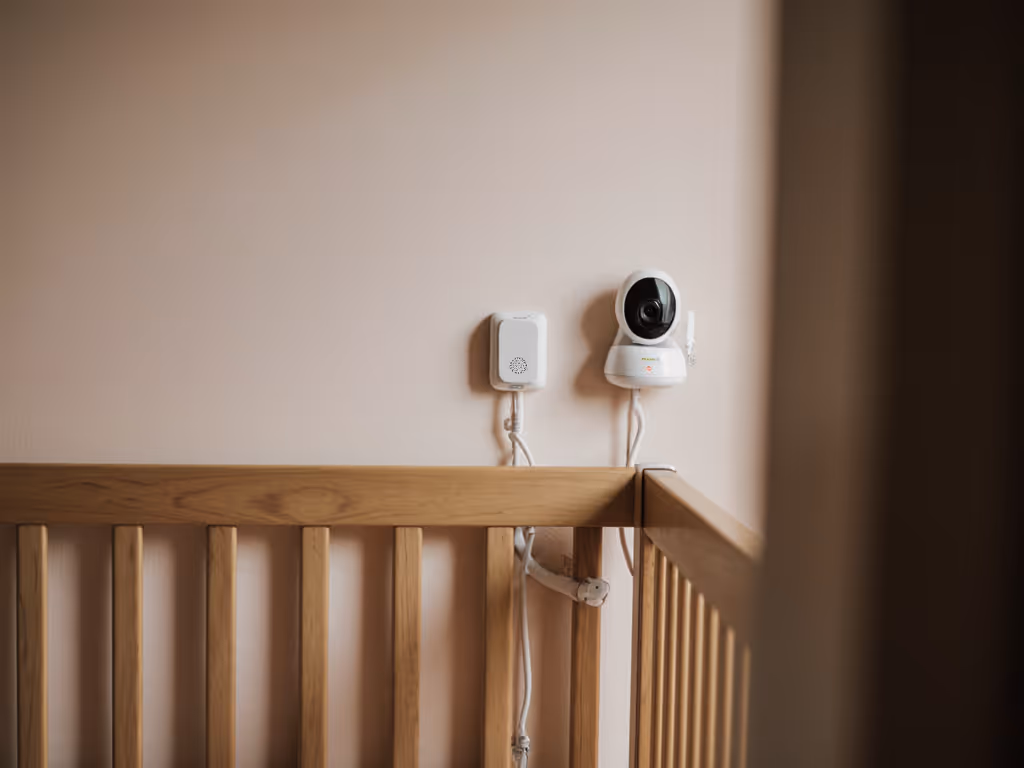
Step 2: Select a Safe Mounting Location
Review these options based on your nursery layout:
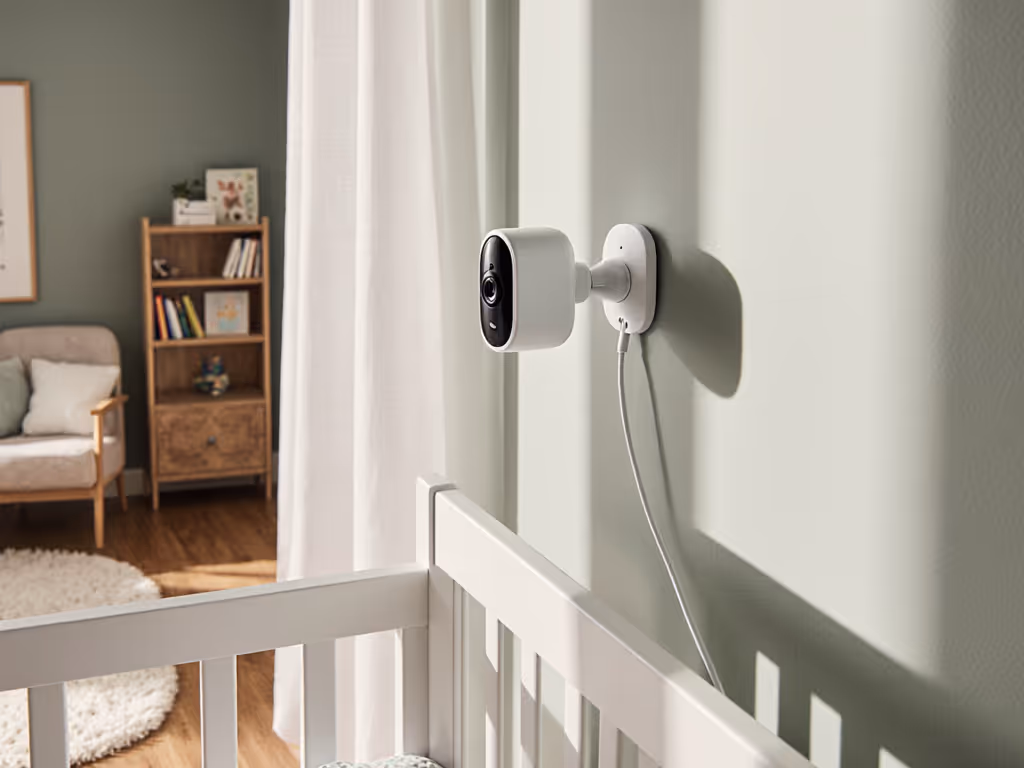
Wall-Mounted Near Ceiling (Recommended)
- Provides wide-angle view of entire crib
- Keeps monitor safely out of baby's reach
- Minimizes cords in accessible areas
- Allows for consistent night-vision clarity without glare
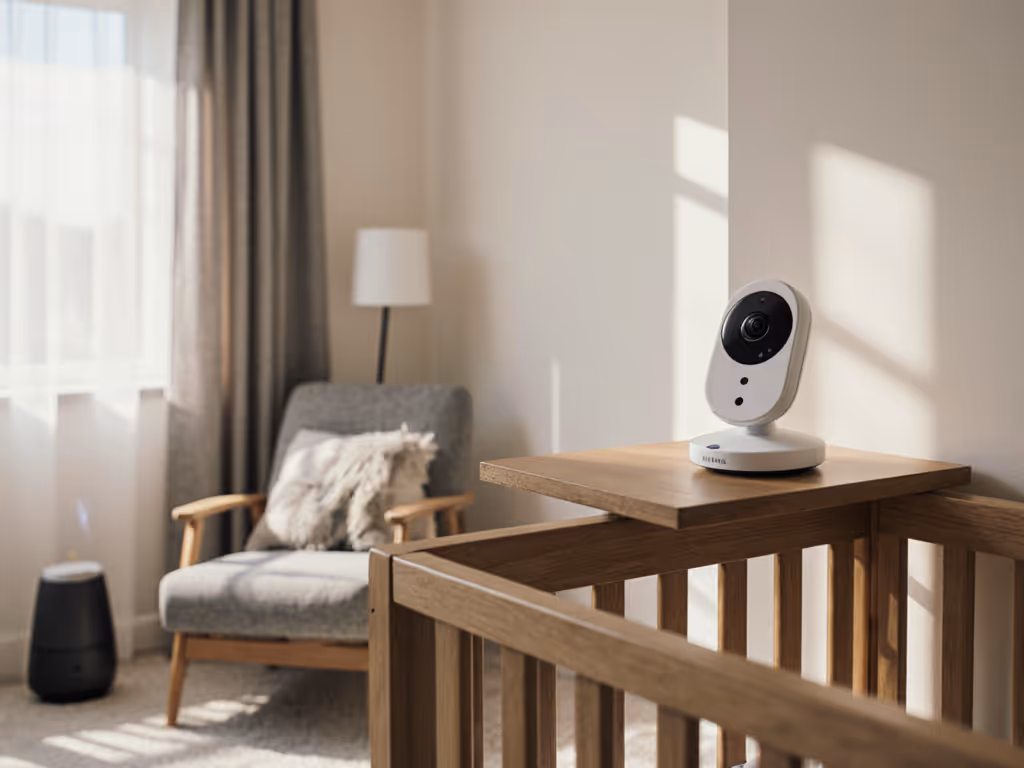
Stable Shelf or Dresser
- Ensure surface is at least 5 feet high
- Confirm shelf won't wobble when touched
- Use books or boxes to elevate if needed (but ensure stability)
Avoid These Locations at All Costs:
- Inside or directly on crib/bassinet
- Attached to crib slats or sides
- On furniture edges where it could fall
- Within baby's reach (even for curious toddlers)
- Near water sources or direct sunlight
Step 3: Secure Your Mounting Hardware
Proper secure baby camera installation requires the right hardware:
| Mounting Surface | Recommended Hardware | Special Considerations |
|---|
| Drywall | Drywall anchors + appropriate screws | Locate studs first if possible |
| Plaster | Specialized plaster anchors | Pre-drill holes to prevent cracking |
| Brick/Concrete | Masonry anchors | Requires specialized drill bit |
- Use a stud finder to locate wall studs
- Mark your desired position with pencil
- Drill pilot holes slightly smaller than anchors
- Insert anchors firmly
- Attach mounting bracket securely
- Test stability by gently tugging
Most quality monitors, like the Eufy models designed with parents in mind, include appropriate mounting hardware for standard installations.
Step 4: Manage Cords Safely
Even with wireless monitors, you'll likely need power nearby. Follow these caregiver handoff tips for cord management:
- Keep all cords at least 3 feet from crib edges
- Use cord clips to secure wires along baseboards
- Never run cords across floors where they could be tripped over
- Consider battery-powered options for temporary setups during travel
A family I worked with previously kept missing alerts because their monitor cords were strewn across the floor. After implementing proper cord management, their nighttime anxiety decreased significantly.
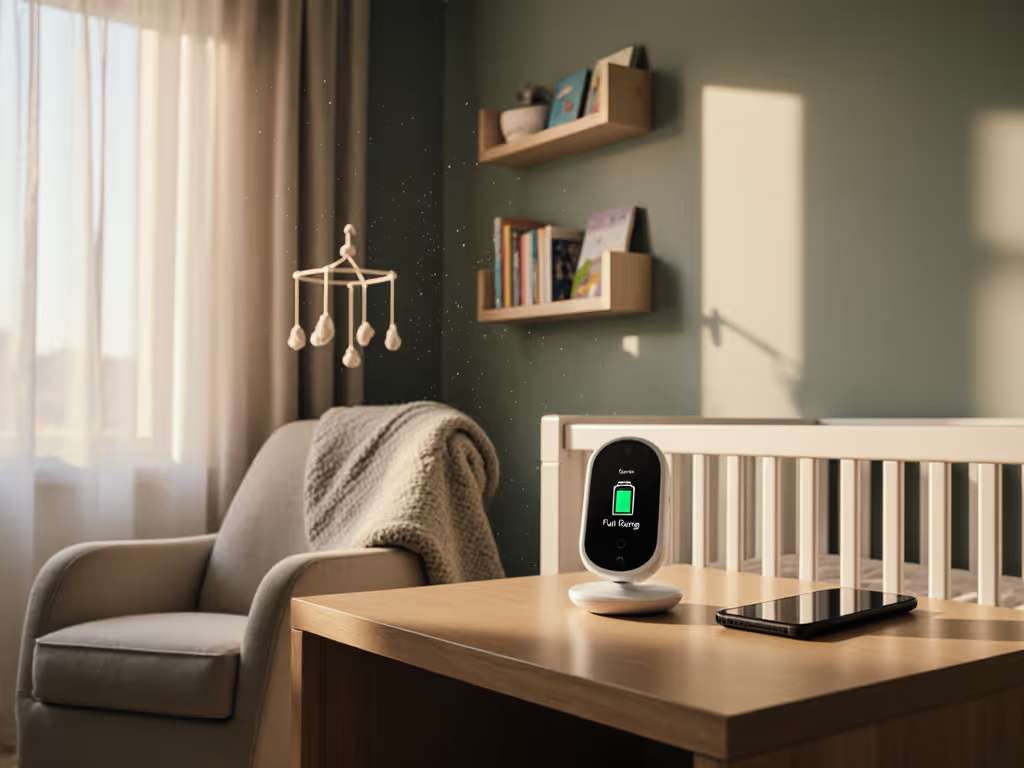
Step 5: Test Your Setup Before Finalizing
Never skip this critical step in your baby monitor placement guide:
- View the live feed from your phone or parent unit
- Check for:
- Glare from nightlights or windows
- Obstructions (mobiles, crib tents)
- IR washout (overexposure in night vision)
- Audio clarity
- Walk the route you'll take from bedroom to nursery, test connection stability
- Simulate handoffs between caregivers to ensure seamless transitions
This testing phase is where you'll discover if your chosen spot delivers the night-vision clarity you need to see your baby's breathing without straining your eyes. For more detailed setup optimization and placement troubleshooting, see our setup and placement guide.
Real-Life Caregiver Handoff Considerations
When multiple people monitor your baby, consistency is everything. Create a simple handoff checklist:
- Monitor volume level confirmed
- Night-vision mode activated
- Charging status noted
- Any special alerts enabled/disabled
Write this on a small card by the monitor. Two lines are all most families need. Three weeks later, everyone knows the routine, and nobody's wondering if the monitor will cooperate during the night.
Troubleshooting Common Placement Issues
Problem: Grainy night vision
Solution: Reposition monitor away from direct light sources and ensure it's not too close to baby
Problem: Audio cutting out
Solution: Check for interference sources and reposition away from other 2.4GHz devices
Problem: Inconsistent connectivity
Solution: Test different locations while holding parent unit where you'll typically be
Problem: Poor viewing angle
Solution: Adjust height or use a monitor with remote pan/tilt rather than moving the entire unit
Creating Your Personalized Monitoring Routine
The most reliable monitoring systems follow these simple rules:
- One preset position you return to after each movement
- One designated charging spot for parent unit
- One consistent test routine before bedtime
Your future 3 a.m. self will appreciate having these plain steps automated so you can focus on your baby, not your technology.
Final Safety Check Before Nightfall
Before you close the nursery door for the night, perform this quick safety scan:
- Monitor is at least 3 feet from crib
- All cords are secured and out of reach
- Mounting feels solid with no wobble
- Night vision shows clear breathing visibility
- Volume is set to appropriate level
The Calm After Proper Setup
When your baby monitor is mounted correctly, you'll notice something remarkable: you stop thinking about the monitor entirely. The alerts come through clearly. The night vision is instantly understandable. You can hand off monitoring responsibilities without explanation. This is the essence of secure baby camera installation, creating a system so seamless it becomes invisible in your routine.
Your monitoring setup shouldn't add cognitive load when you're already running on sleep debt. By following this baby monitor placement guide and taking time with your how to mount baby camera process, you're not just installing equipment, you're creating space for rest.
Your next step: Take just 15 minutes today to walk through these steps in your nursery. Notice how each intentional placement decision reduces future anxiety. Then, share your experience with another new parent who's struggling with their setup, because sometimes the simplest baby monitor mounting options make the biggest difference when 3 a.m. arrives.