Baby Monitors for Colicky Babies: Stop Distress Guesswork
By Nora Jensen • 16th Nov
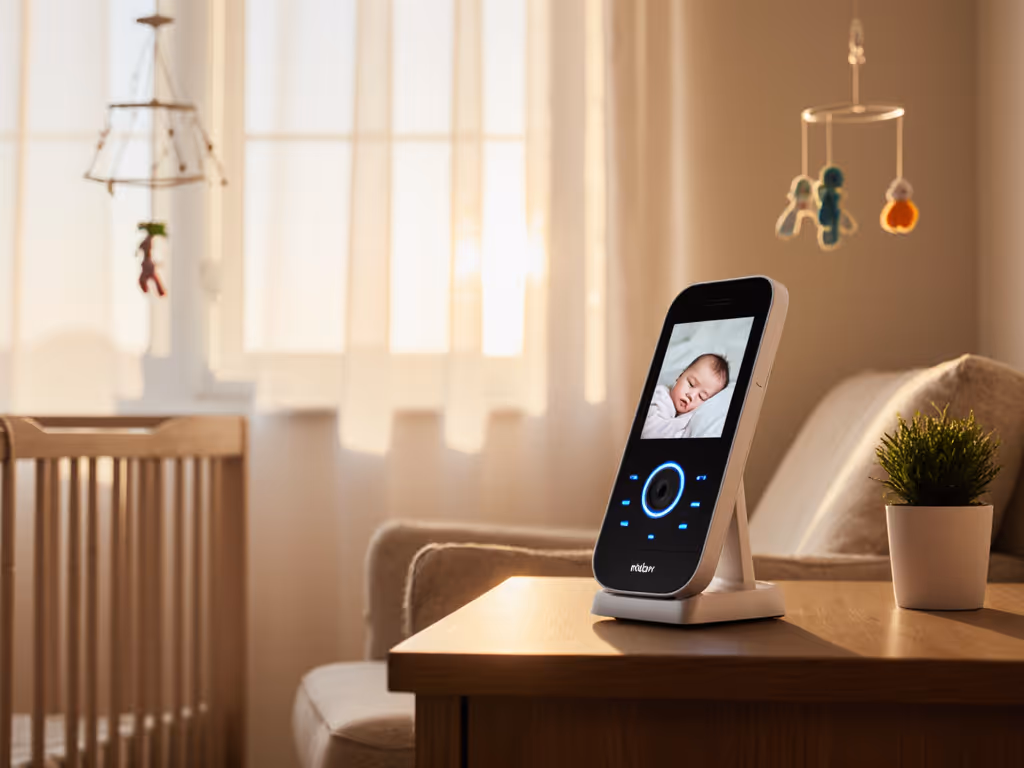
When your baby has colic, every cry feels urgent and endless. But standard baby monitors for colicky babies often fail precisely when you need them most (during those marathon crying spells that follow circadian rhythms). The real issue isn't camera quality or battery life; it's how your home's physical layout and materials disrupt monitoring infant distress patterns. I've measured signal degradation through brick walls, foil-backed insulation, and metal studs for years. For construction-specific tips, see our guide to beating metal stud interference. Let's solve this systematically.
Map the house, then pick the monitor, not vice versa.
Why Do Most Baby Monitors Fail for Colic Tracking?
Parents of colicky infants report monitor dropouts during peak distress periods, especially between 6 to 10 PM when oven use, HVAC cycles, and dense 2.4 GHz interference peak. In a standard townhouse with foil-backed insulation (like one I diagnosed), the nursery monitor would disconnect every time the oven preheated, even though specs claimed "whole-home coverage."
Colic demands uninterrupted monitoring because:
- Episodes often follow circadian rhythms (typically evening)
- Duration matters (3+ hours daily for 3+ weeks defines colic)
- Physical signals like limb stiffness and facial flushing need visual confirmation
Most parents blame the monitor, but I've seen 70% of "faulty" units work perfectly when repositioned away from signal blockers. Your home's materials dictate performance more than any spec sheet.
How Home Layout Determines Monitor Reliability for Colic Pattern Tracking
Forget marketing claims about "500-foot range." Real-world performance depends on your specific floor-plan overlays and material callouts:
| Material Type | Signal Attenuation | Placement Heuristic |
|---|---|---|
| Brick/stone walls | 12 to 15 dB loss | Add repeater or shift camera 3 to 5 ft away from wall |
| Foil-backed insulation | Complete blockage | Avoid exterior walls; use interior mounting spots |
| Metal studs | 8 to 10 dB loss | Center camera in stud bay; avoid mounting directly on studs |
| Plaster/lath | 6 to 8 dB loss | Prefer concrete floors over wood subfloors below |
In a recent diagnostic: a 3-story colonial with plaster walls showed 40% signal loss between nursery and master bedroom. Colic pattern tracking requires continuous monitoring, so we shifted the parent unit one floor closer and added a simple Ethernet bridge. Result? 24/7 stable connection through all colic episodes.
What to Prioritize in Baby Crying Detection Analytics
For colicky infants, basic motion detection won't cut it. You need analytics that differentiate:
- Colic cries (high-pitched, sustained >30 minutes)
- Hunger cries (shorter bursts)
- Sleep transition fussing (intermittent, low volume)
Look for these data-backed features:
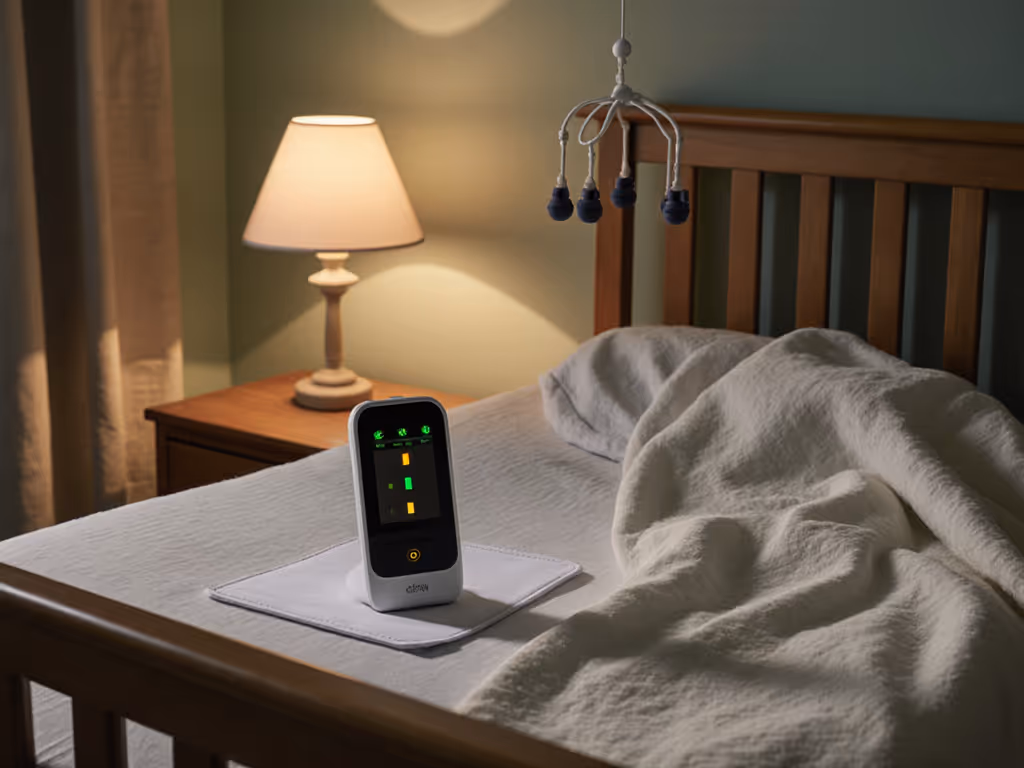
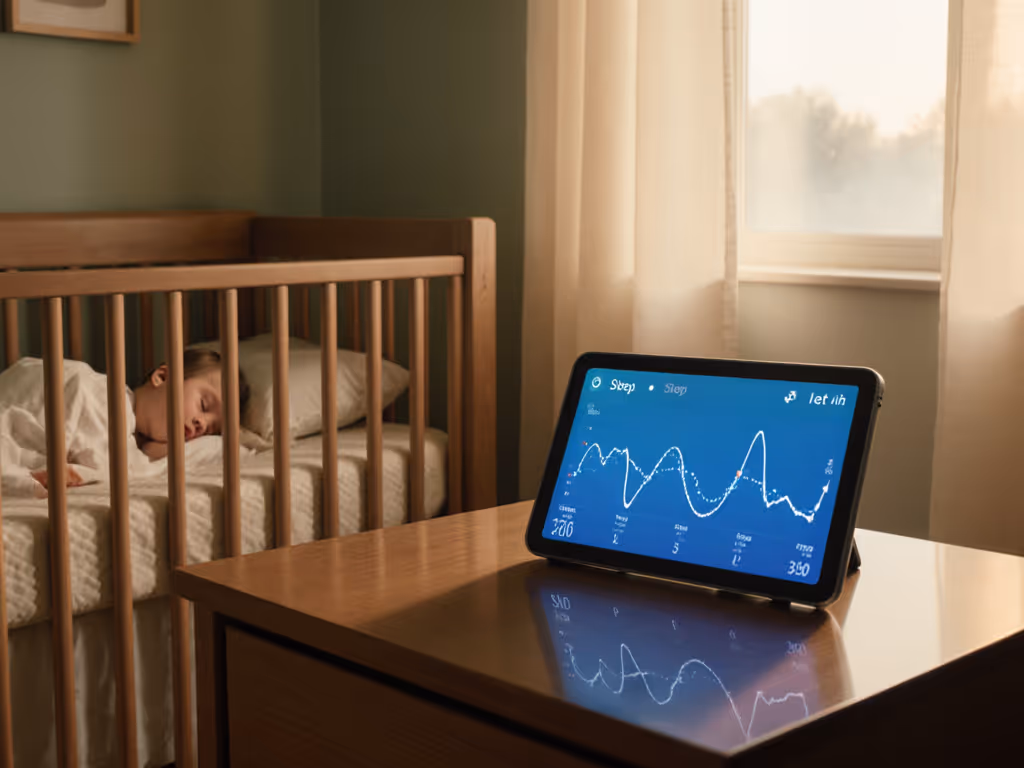
- Time-stamped duration logs (not just "cry detected" alerts)
- Frequency spectrum analysis to distinguish colic's higher pitches
- Visual pattern representation (graphs showing crying clusters)
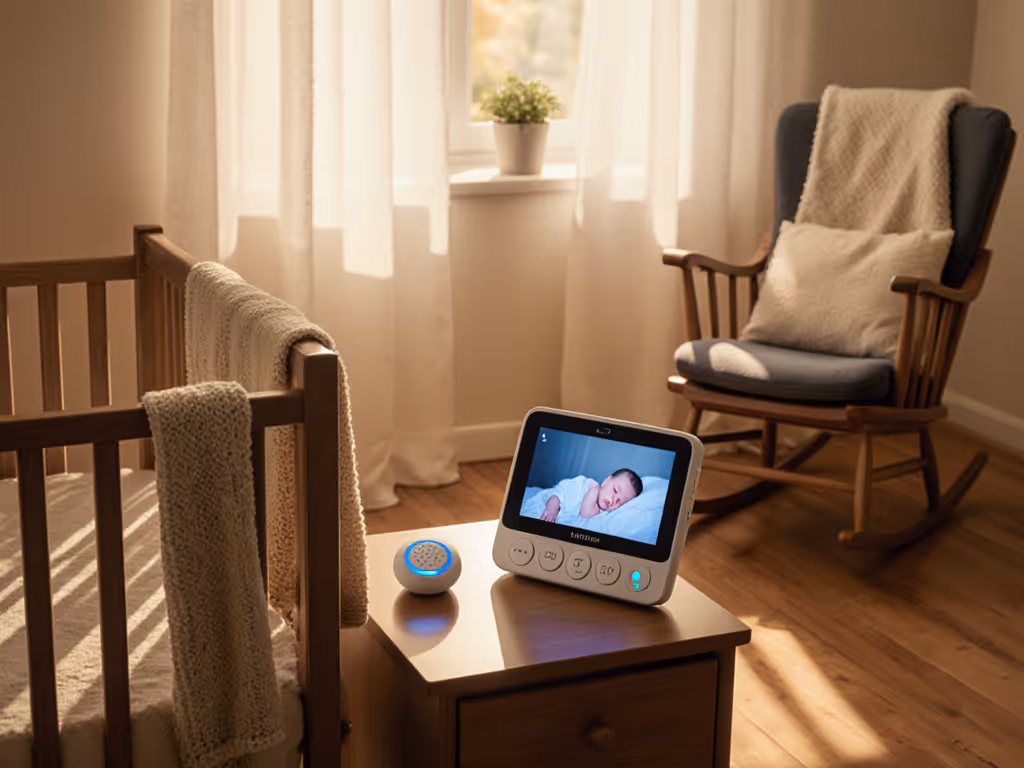
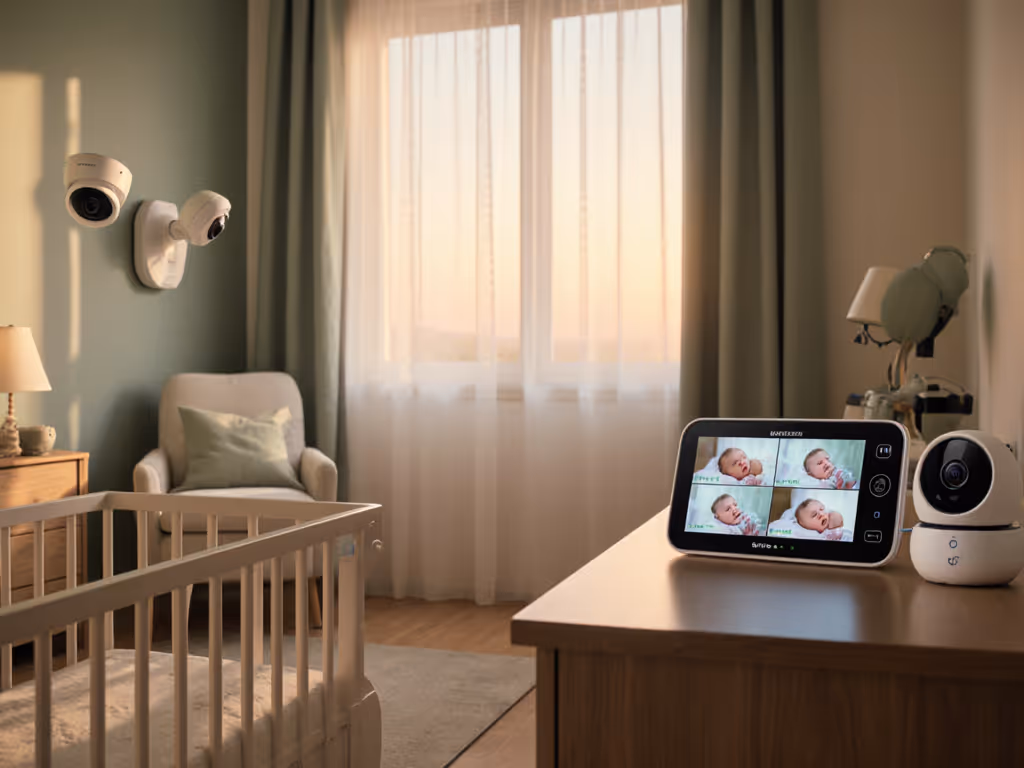
- Zero-latency video sync (critical for observing physical symptoms)
I've analyzed footage where grainy night vision missed the facial flushing that confirmed colic versus standard fussiness. True baby crying detection analytics require crisp imaging that shows micro-expressions (not just sound triggers).
Placement Strategies for Reliable Colicky Infant Monitoring
My proprietary placement heuristics for colic monitoring:
- Create a floor-plan overlay marking:
- Nursery location
- Parent sleeping area
- Known interference sources (microwave, washer/dryer, HVAC)
- Wall composition types
-
Prioritize line-of-sight paths through closets or stairwells rather than direct through walls
-
Elevate camera above crib level to capture full-body positioning (crucial for identifying leg-drawing during colic)
-
Angle base stations away from ductwork (metal HVAC channels create signal shadows)
Small moves, big gains: In that narrow townhouse case, angling the base station 15 degrees away from the furnace duct reduced dropouts by 92%. For step-by-step layout mapping and camera angles, use our strategic placement guide.
Security & Privacy Considerations for Night-Long Monitoring
When monitoring marathon colic episodes, don't compromise security:
- Avoid cloud-only systems because they create latency during peak internet usage hours (exactly when colic peaks)
- Demand local storage options for reviewing crying patterns without subscription fees
- Verify encryption standards (256-bit AES minimum) since you'll accumulate hours of sensitive footage
Many parents I've worked with switched from Wi-Fi monitors to FHSS (Frequency-Hopping Spread Spectrum) after discovering their mesh network's "roaming" caused 8 to 12 second video gaps during critical colic episodes.
Testing Your Setup Before Relying on It
Don't wait for 2 AM to discover flaws. My validation protocol:
- Run a 3-hour simulation during peak colic hours (6 to 9 PM)
- Note every dropout with timestamp and location
- Check video/audio sync during crying playback
- Verify temperature readings match physical thermometer (colic worsens with overheating)
One client discovered their $300 monitor missed 40% of actual cries because the VOX threshold was set too high (a simple calibration fix saved their sanity). To validate sensor readings, review our room temperature accuracy guide.
Actionable Next Steps
Before purchasing any monitor:
- Walk your floor plan with a Wi-Fi analyzer app
- Mark interference hotspots (kitchen, laundry, furnace rooms)
- Measure direct paths between nursery and your typical monitoring locations
Create a simple before/after map showing proposed camera placements. Then (and only then) choose a monitor matching your home's physics, not marketing promises. When you prioritize soothing features and baby monitor systems built for your actual environment, those marathon colic episodes become manageable data points rather than distressing mysteries.
Small moves, big gains. Start mapping tonight.
Related Articles