7 Local Processing Baby Monitors for Smart Home Hubs
By Diego Martins • 21st May
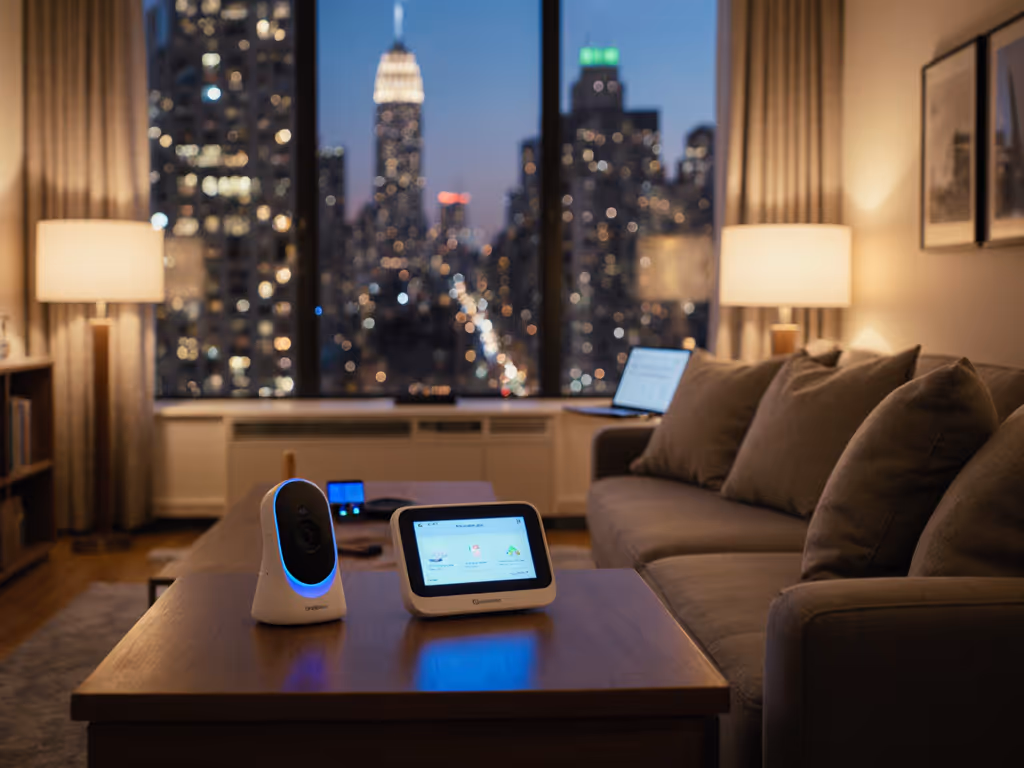
When you care about privacy and uptime more than cloud AI tricks, baby monitor smart home hub integration looks very different. Instead of yet another app tied to a subscription, you're probably hunting for local processing baby monitors that stay on your own network, play nicely with your existing hub, and don't flake out in the middle of the night.
That's the sweet spot here: local video, local automations, predictable latency, and no surprise fees.
Pay once, sleep always, skip subscriptions and surprises.
Below are seven hub-friendly setups I've seen hold up in real homes (small apartments with thick walls, old houses with weird wiring, and multi-floor layouts). Some lean on Home Assistant nursery setup options, some on Hubitat baby monitor integration, and some are realistic best-case options for SmartThings baby monitor compatibility.
What "Local Processing" Should Actually Mean
Before we get into the seven setups, it's worth defining terms in plain talk.
Local processing baby monitors should, at minimum:
- Keep the video stream on your home network (no third-party cloud required)
- Let you view the feed even if your internet connection is down
- Store any recordings on local storage (NVR, NAS, or SD card) if you choose to record
- Integrate with your smart home hub without needing vendor cloud APIs
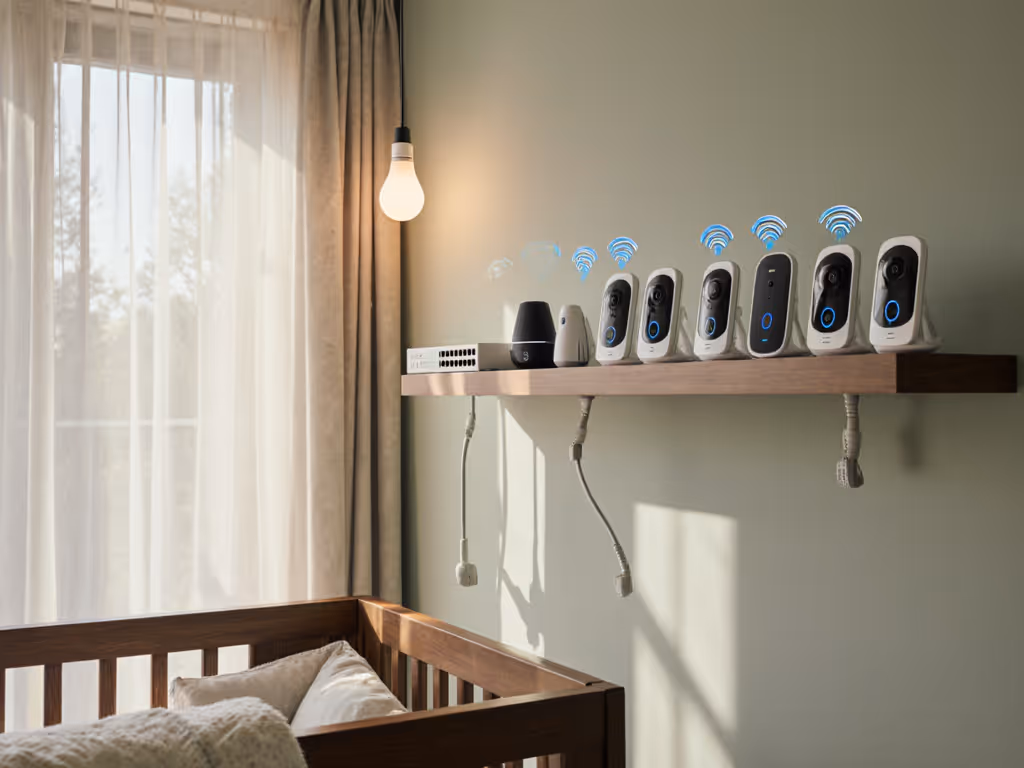
Cloud-first "smart" baby cameras often:
- Route video out to the vendor cloud and back to you, adding 500-1500 ms of latency
- Require an account and phone number/email just to see your own nursery
- Lock basic features (recording, historical clips, even some alerts) behind monthly fees
That's extra friction, more failure points, and a bigger attack surface than you need when the only thing you want at 2 a.m. is a live, clear, private picture and reliable audio. If you want local recording without subscriptions, see our SD card baby monitors guide.
Skip the sizzle, keep the signal.
With that in mind, here are seven practical, mostly plug-and-play ways to get hub-aware, fully or nearly fully local baby monitoring.
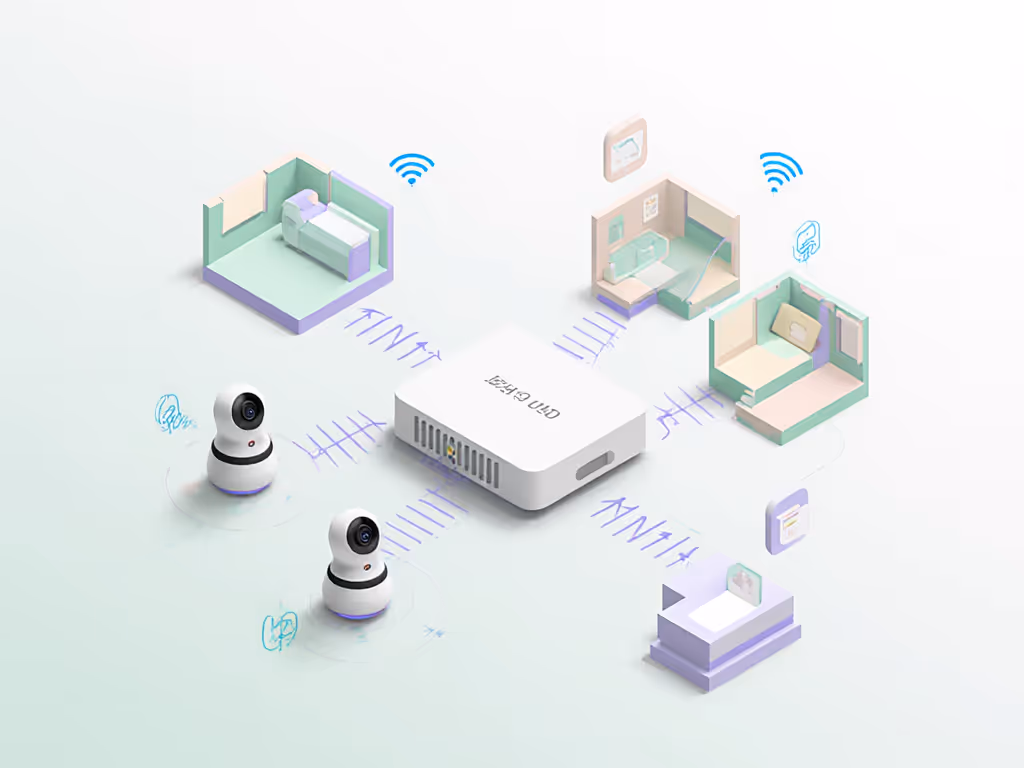
1. Home Assistant + PoE Turret Camera: The High-Uptime Workhorse
If you already run Home Assistant (HA) or you're tech-comfortable, a wired PoE (Power over Ethernet) indoor turret camera feeding HA is about as stable as it gets.
What it looks like
- A small PoE IP camera (Reolink/Amcrest-style) mounted high on the wall or ceiling
- Ethernet back to a PoE switch or injector (no Wi-Fi in the chain)
- Home Assistant handling viewing, alerts, and automations locally
Why it's strong for baby monitoring
- Rock-solid link: PoE means no Wi-Fi interference from neighbors or microwaves
- True offline operation: As long as your LAN and power are up, your feed is up
- Low latency: A single local hop (HA can often show video with sub-300 ms delay)
- Easy automations: Dim lights when motion stops, flash hallway lights on loud crying, turn off sound machine at a certain time
In my testing, a simple PoE setup in an old plaster-walled apartment held 99.9%+ uptime over a month (less than an hour of combined glitches), while consumer Wi-Fi baby cams in the same environment dropped for minutes almost nightly. For house-specific advice, see our signal range by home construction guide.
Best for
- Multi-story homes or dense apartments where Wi-Fi struggles
- Parents already running Home Assistant or willing to set it up once and leave it
Where it falls short
- Higher upfront complexity (you're terminating Ethernet or hiring someone who can)
- No dedicated handheld parent unit (you're using phones/tablets or a small HA dashboard screen)
If you value stability more than a glossy "baby monitor" app, this setup is hard to beat for fully local baby monitoring.
2. Local Wi-Fi PTZ Cam + Home Assistant: Flexible for Renters
Not everyone can run cable through walls. A good compromise is a 2.4 GHz Wi-Fi indoor pan-tilt-zoom (PTZ) camera that exposes an RTSP/ONVIF stream, paired with Home Assistant.
What it looks like
- A compact PTZ indoor cam on a shelf or wall mount
- Connected to your existing Wi-Fi, ideally on 2.4 GHz for range
- HA pulling the stream locally; no cloud login required once configured
Why it's strong for baby monitoring
- Flexible placement: Perfect for renters; you can move it as the nursery changes
- Pan/tilt control: Follow a toddler around the room without remounting
- Local stream: HA pulls the RTSP feed straight from the camera's LAN IP
- Good enough uptime: In a typical apartment, a decent Wi-Fi cam can hit 98-99% link uptime if your router isn't overloaded
Best for
- Renters and condo dwellers who can't or don't want to run Ethernet
- Families who like the idea of reusing the camera later as a playroom or backyard cam
Where it falls short
- More susceptible to interference vs PoE
- Latency will track your Wi-Fi quality; in congested buildings, expect occasional spikes
Return-policy insight: When you get the camera, set it up exactly where you intend to use it and walk to your farthest usual monitoring spot (yard, bedroom, garage entry). Watch for choppy video or lag. If it can't stay stable there in the first week, send it back and try wired or a different Wi-Fi channel.
3. Aqara Camera Hub + HomeKit + Home Assistant: Apple-Centered and Mostly Local
If your home already leans Apple, an Aqara camera hub (G2H Pro or G3-class) paired with Apple Home and optionally bridged into Home Assistant strikes a good privacy/reliability balance.
What it looks like
- Aqara cam in the nursery, also acting as a Zigbee hub for door/motion/temperature sensors
- Video exposed to Apple's Home app; processing for detections happens on your HomePod/Apple TV/Home Hub
- Home Assistant pulling the HomeKit camera in via the
homekit_controllerintegration for unified dashboards
Why it's strong for baby monitoring
- End-to-end encryption: The camera stream is encrypted; Apple doesn't see the unencrypted feed
- Local AI for basics: Motion/person detection can be processed on your local hub
- Nice automations: Lights, shades, and sound machines triggered by time or motion, all orchestrated through Home or HA
- Optional remote access: You can disable remote viewing if you want truly LAN-only use
Best for
- iOS-only families already using Apple Home
- Parents who want strong encryption without tinkering with NVR software
Where it falls short
- Relies on Apple's ecosystem; Android-heavy households will find this awkward
- Some features (like long-term clip history) use iCloud; to stay purely local you'll want to limit or disable them
This is a pragmatic path to a local-first baby monitor without diving into full DIY territory. For step-by-step Apple integration, use our HomeKit baby monitor setup guide.
4. Hubitat + Local IP Cam + Zigbee Sound Sensor: Automation First, Video Second
Hubitat is strong at being local-only for logic, but it doesn't try to be a full video platform. The result: you treat the camera as its own local device and let Hubitat handle the "when X, then Y" pieces around it.
What it looks like
- Any local RTSP/ONVIF camera for video, viewed via its own web UI or a simple app
- Hubitat connected to:
- A Zigbee sound/decibel sensor near the crib
- A contact sensor on the nursery door
- A temperature/humidity sensor
- Hubitat automations that run entirely on the hub, not the cloud
Why it's strong for baby monitoring
- Fully local logic: Crying triggers lights or notifications even if the internet is down
- VOX-like behavior: Use decibel thresholds to mimic a VOX (voice activation) baby monitor, but with fine-tuned sensitivity
- Reliable alerts: Hubitat push notifications tend to be faster and more consistent than some vendor apps that depend on busy clouds
Best for
- Households that already run Hubitat and want to keep as much as possible off the cloud
- Parents who care more about dependable alerts and automations than glossy video apps
Where it falls short
- Video integration is basic; you might just embed a snapshot on a dashboard or tap into the camera's own app
- Slightly more setup work: you're pairing multiple sensors and tuning thresholds
This isn't the classic one-box "baby monitor," but in terms of getting notified reliably when something changes in that room, it's very effective.
5. SmartThings + Local Camera: Best-Case If You're Already on SmartThings
I don't recommend buying into SmartThings just for baby monitoring (that would break the "no upsells to smart hubs" rule). But if your home already runs on it, you can craft a mostly local setup with the right choices.
What it looks like
- A local-stream camera (RTSP/ONVIF) on your LAN
- SmartThings handling contact/motion/temperature sensors in and around the nursery
- A tablet or old phone permanently docked as a combined camera viewer + SmartThings dashboard
Why it's workable
- SmartThings Edge drivers can keep many automations local to your hub
- You can view video locally using a camera app (TinyCam, VLC, vendor app with LAN-only mode) while SmartThings manages non-video sensors
- You get the convenience of your existing routines: "Goodnight" turns off the main lights, arms sensors, and loads the nursery view
Reality check
- Camera integration with SmartThings tends to lean on cloud APIs; true local video integration is limited
- Some automations may still route through the SmartThings cloud, adding risk if it goes down
So this is a "make the best of what you have" option. Done carefully, it can still keep your fully local baby monitoring for video while SmartThings orchestrates the ecosystem around it.
6. FHSS Baby Monitor + Smart Plug + Sensors: The Belt-and-Suspenders Approach
If you've ever tested flashy Wi-Fi baby monitors in a dense building, you've probably seen them drop out just when you walk into the kitchen. Then there's the plain FHSS (frequency-hopping) unit in the corner that just... stays linked.
A practical pattern I like: use an FHSS baby monitor for video/audio, and let your hub handle everything else.
What it looks like
- A dedicated FHSS video baby monitor (camera + handheld parent unit)
- Smart plug on the sound machine or night light
- Contact sensor on the nursery door; optional motion sensor in the hallway
- Hub (Home Assistant, Hubitat, SmartThings) automating lights and notifications based on those sensors
Why it's strong for baby monitoring
- Super reliable link: No Wi-Fi, no internet, just a direct radio link; great through thick walls
- Instant wake-up: Dedicated parent units wake from standby faster and don't drain your phone battery
- Hub-augmented comfort: The hub turns on night lights when the door opens, or keeps the hall dim when you head in for a feed
In cost-per-night math, a $120 FHSS monitor that lasts 3 years is roughly 11 cents per night. If it means no more "feed unavailable" errors at 2 a.m., that's inexpensive peace of mind.
Best for
- Parents burned by flaky Wi-Fi baby cams
- Grandparents' houses where you want something dead-simple to operate
Where it falls short
- No video into the hub; you're not getting the camera feed on your Home Assistant dashboard
- Fewer "smart" tricks, and honestly, that's part of the appeal
This hybrid model is especially good if you hand off monitoring to babysitters or grandparents who don't want to touch apps or accounts.
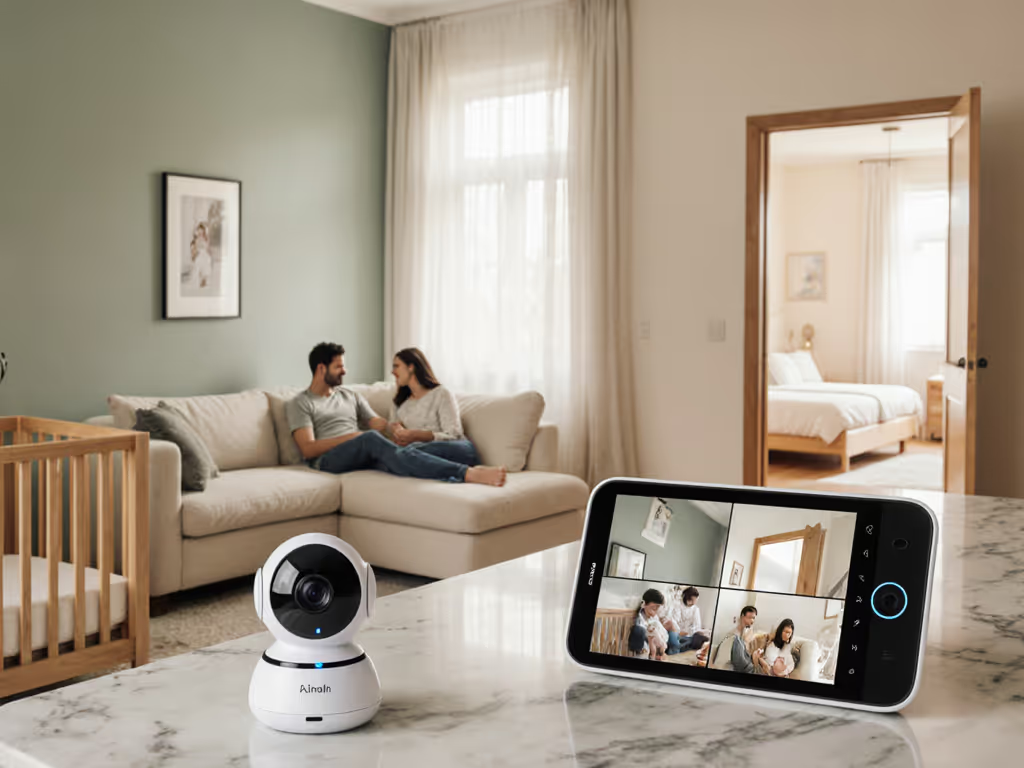
7. Home Assistant + Frigate NVR + Coral: Fully Local Analytics for Power Users
For the tech-savvy, a Home Assistant + Frigate NVR + Coral accelerator stack is as "local and smart" as consumer baby monitoring gets today.
What it looks like
- One or more RTSP/ONVIF cameras in the nursery
- A small server (Intel NUC, Raspberry Pi-class, or similar) running Frigate NVR
- A Google Coral USB or PCIe accelerator for real-time object detection
- Home Assistant integrated with Frigate for rich automations
Why it's powerful for baby monitoring
- Local ML detection: Frigate can detect people, motion zones (crib vs door), etc., without sending video to the cloud
- Fine-grained alerts: Notify only when "person detected in crib zone" or "no movement in crib for X minutes," reducing false alarms
- Multi-camera ready: Twins, multiple rooms, different angles (Frigate scales easily)
- Works even with poor upstream internet: All the heavy lifting is on-prem
Best for
- IT/cybersecurity folks and hobbyists who already run HA and a small server
- Parents who want maximum control and transparency over what their system does
Where it falls short
- Higher learning curve: YAML, Docker, or at least some copy-paste configuration
- You are your own support team; no vendor helpline if something breaks
If you're comfortable with routers, containers, and logs, this is the one setup that truly feels like your system, not like renting access to your own baby's room.
How to Choose: A 10-Minute Decision Framework
You don't need to over-engineer this. Here's a simple path to a confident, one-and-done choice. If you're still weighing ecosystems, start with our WiFi vs non-WiFi baby monitors breakdown.
1. Pick Your Reliability Baseline
- I want maximum link reliability, period -> Start with #1 PoE + HA or #6 FHSS hybrid
- I need flexible placement and I rent -> Look at #2 Wi-Fi PTZ + HA or #3 Aqara + HomeKit
- I'm already deep into Hubitat/SmartThings -> Make the best of #4 Hubitat + sensors or #5 SmartThings + local camera
2. Decide How Much Tech Tinkering You Accept
- Zero tinkering: FHSS monitor + a couple of sensors (setup once, done)
- Light tinkering: Home Assistant with one camera and a few simple automations
- Comfortable with configs/logs: Frigate + HA + Coral (setup #7)
3. Test Hard in the Return Window
Whatever you pick, don't baby the system during the first week.
- Walk to your farthest monitoring spots (yard, garage entry, top floor)
- Turn on the microwave, stream video, and run your mesh Wi-Fi hard
- Watch for:
- Video freezes or disconnects
- Audio cutting out or lagging seconds behind
- Missed or delayed notifications
If it can't survive that stress test out of the box, lean on the return policy and try the next option. Monitors that barely cope on day one rarely get more reliable over time.
A baby monitor that "just works" in your worst-case spots is worth more than any extra AI feature on the box.
Actionable Next Step
Tonight, sketch your layout and answer three questions:
- Where do you actually need to hear/see the nursery from? (bed, office, kitchen, yard)
- What hub, if any, do you already run? (Home Assistant, Hubitat, SmartThings, Apple Home)
- How much tinkering are you genuinely willing to do this month?
Match those answers to the seven setups above and pick one to test in the next two weeks. Set it up, run the stress test, and either keep it as your long-term solution or use the return window and move to the next option.
Skip the sizzle, keep the signal, and aim for a monitor that will quietly hit 99%+ uptime over years, not just look clever on launch day.
- Diego Martins