Apple HomeKit Baby Monitor: Privacy-First Setup Guide
By Hana Ito • 9th Nov
When setting up an Apple HomeKit baby monitor, your primary concern shouldn't be whether your feed is secure at 3 a.m., it should be whether your little one needs you. That's why privacy-focused baby monitoring matters so deeply for exhausted parents navigating the night. With Apple's ecosystem offering end-to-end encryption right out of the box, you can finally rest knowing your baby's feed stays private, secure, and accessible only to those you trust, all without subscription fees eating into your budget.
As someone who's helped dozens of families establish reliable monitoring routines during sleep training and shift work, I've seen how anxiety about privacy and dropped connections creates unnecessary stress. The best monitor is the one you forget about at 3 a.m. because it simply works within your routine. In my work, I've observed that when parents feel confident their monitoring system won't fail them or expose their private moments, they sleep better, meaning everyone in the household benefits.
At 3 a.m., fewer decisions mean more calm.
Why HomeKit Stands Out for Privacy-Conscious Parents
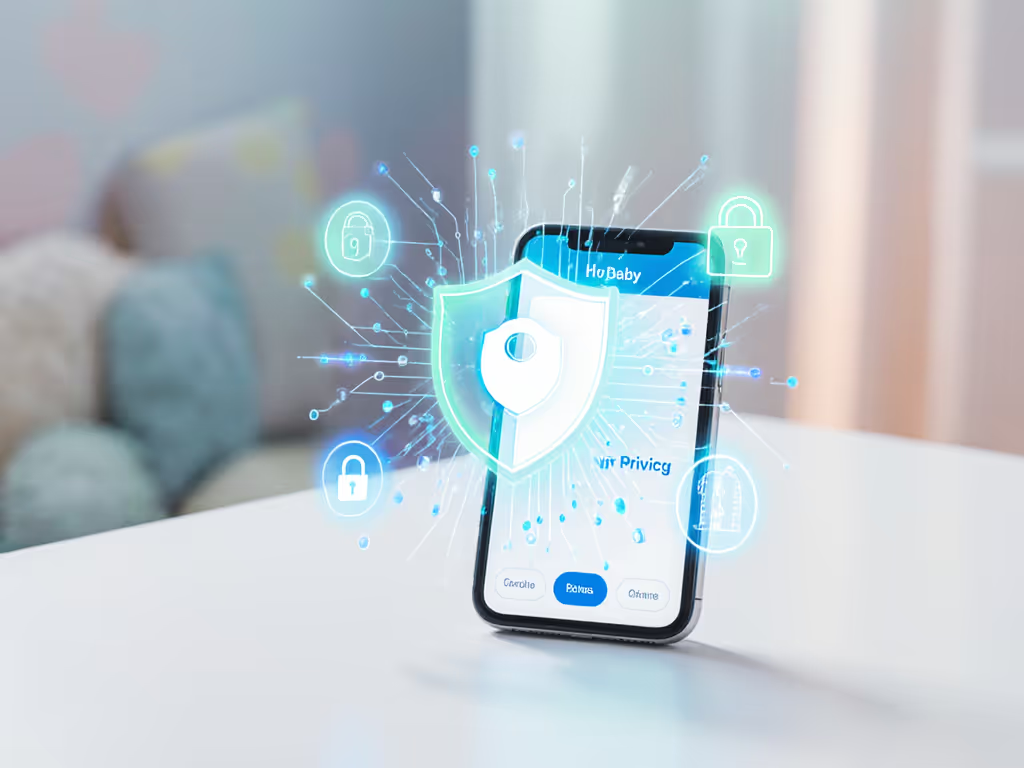
Unlike many cloud-based monitoring systems that require third-party accounts or store footage on remote servers, Apple's HomeKit ecosystem processes video locally when possible. With HomeKit Secure Video integration, footage is encrypted before leaving your camera, then stored in iCloud with your data protected by two-factor authentication.
This truly private approach addresses the top concern I hear from parents in tech-adjacent fields: "Who else is watching my baby?" When you choose an Apple ecosystem baby monitor, you're selecting a solution where your data never gets mined for advertising or shared with third parties, a critical peace of mind for privacy-sensitive households. For a deeper dive into protecting your feed, see our WiFi baby monitor security guide.
Your Step-by-Step Privacy-First Setup Process
Step 1: Confirm Compatibility Before Unboxing
Before you even open your camera:
- Check the manufacturer's website for HomeKit compatibility (look for the "Works with Apple HomeKit" badge)
- Ensure the camera supports HomeKit Secure Video integration if you want encrypted cloud storage
- Verify you have a HomeKit hub (Apple TV 4K, HomePod, or iPad that stays home)
This initial verification prevents the frustration of setting up a device only to discover it lacks true iCloud baby monitoring privacy features. Many parents I've worked with skipped this step and ended up returning devices that claimed "HomeKit support" but didn't offer encrypted video processing.
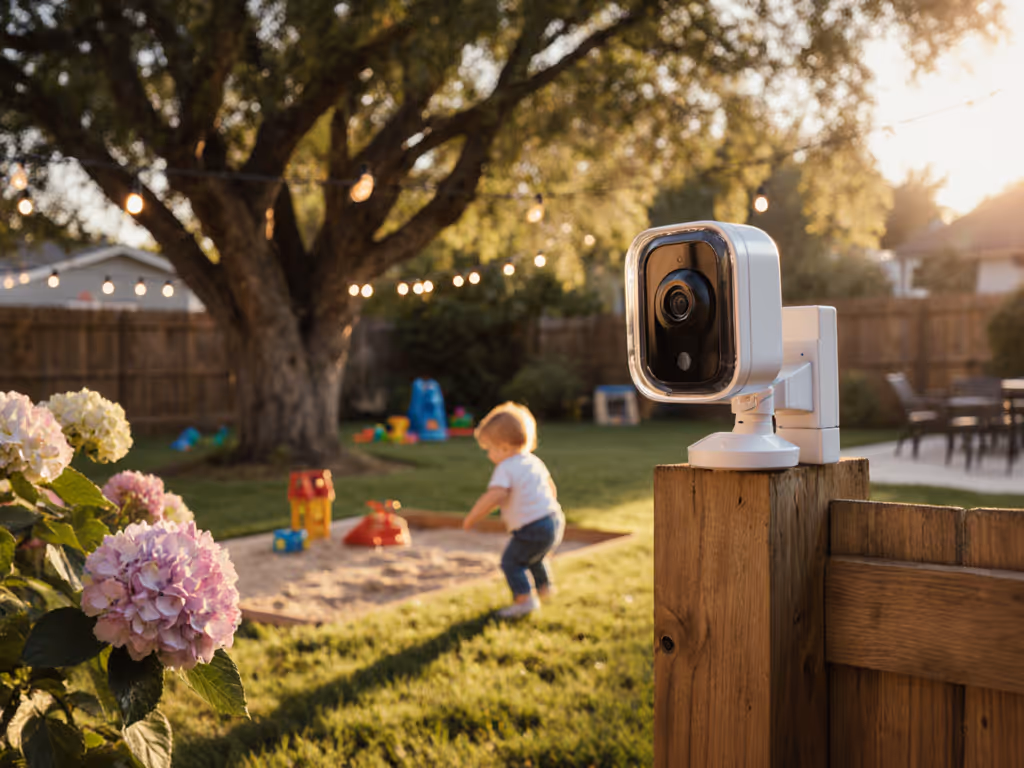
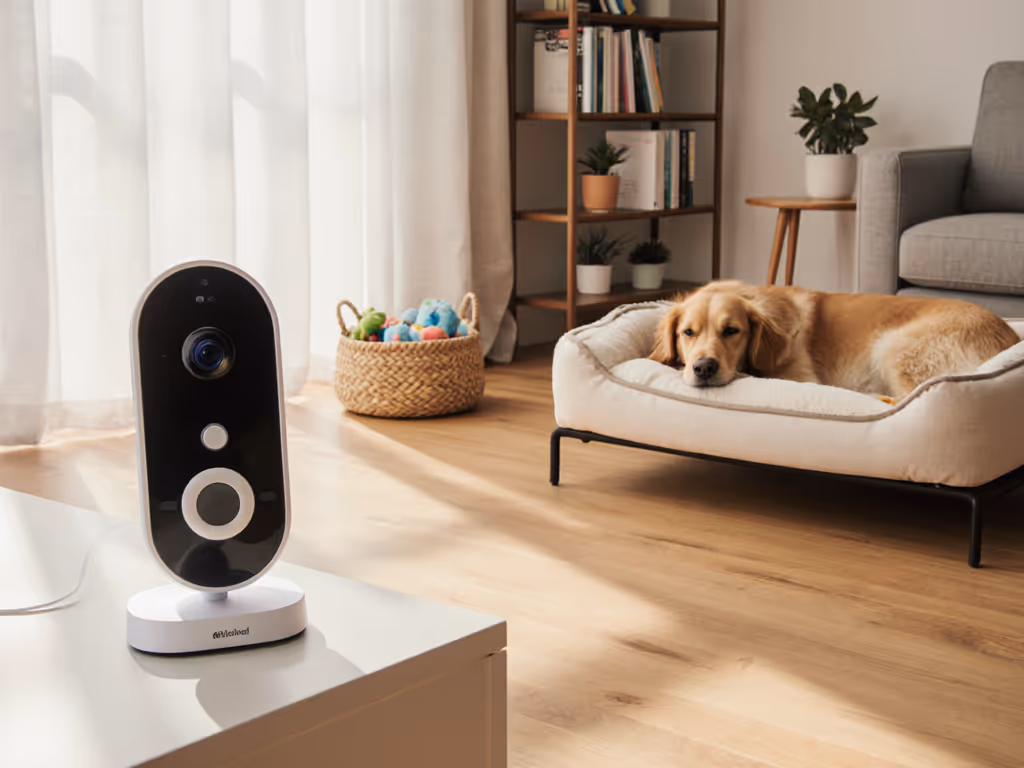
Step 2: Strategic Camera Placement for Both Safety and Privacy
Camera positioning affects both monitoring effectiveness and privacy:
- Place camera at least 6 feet from the crib, mounted high on a wall or shelf
- Angle to see your baby's entire sleeping area without capturing personal items (like nightstands with medication)
- Avoid pointing toward windows where external viewers could potentially see in
- Ensure the camera's status light is visible to you but not directly facing your baby
This simple step prevents common issues like night vision glare while maintaining privacy boundaries, a detail often overlooked in standard setup guides. If you want more positioning examples (crib corners, shelves, or wall mounts), check our camera placement guide. In real-life scenarios, I've helped parents reposition cameras that accidentally captured doorways or personal spaces, creating unnecessary anxiety.
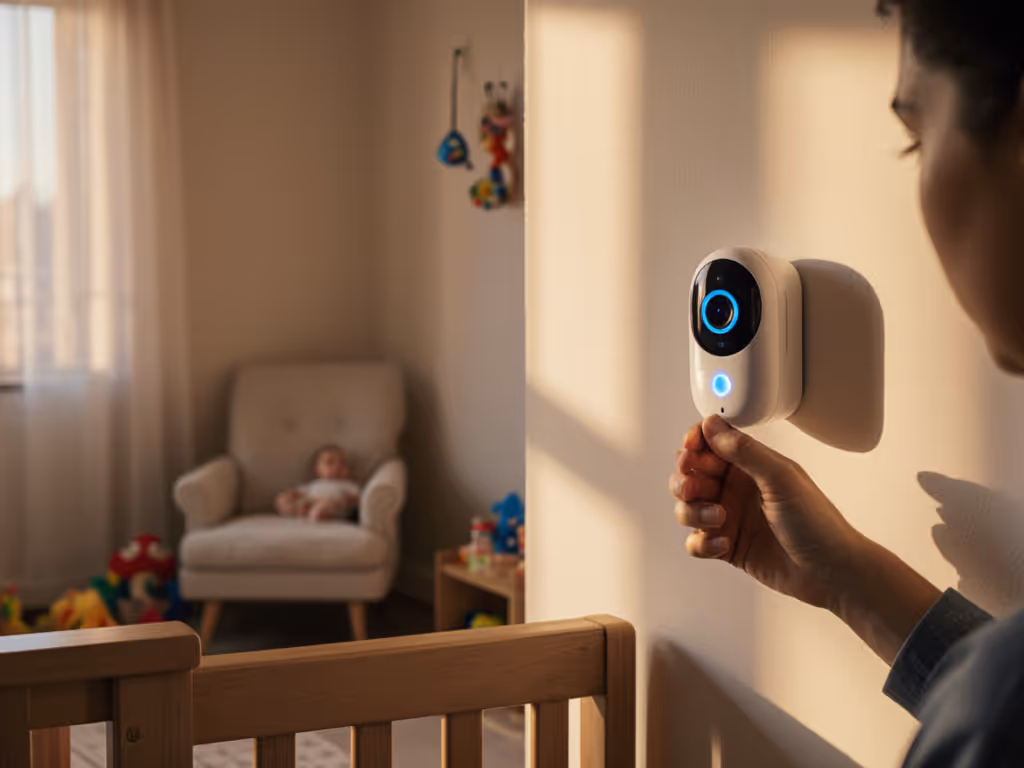
Step 3: Secure Setup Without Compromising Simplicity
Follow these specific steps for a secure Apple baby monitor setup:
- Power on your camera, but don't connect it to its manufacturer's app yet
- Open the Home app on your iPhone
- Tap the + icon > "Add Accessory" > "Don't Have a Code or Can't Scan?"
- Select your camera from the list when it appears
- Scan the HomeKit setup code (usually on the camera base or in documentation)
- When prompted, choose "Add as Accessory" not "Use This Camera as a HomeKit Secure Video Camera" if you prefer local-only viewing
- Name the camera something specific like "Nursery Monitor - Primary"
- Assign it to the correct room ("Baby's Room" not just "Upstairs")
Set it once, then sleep the plan
This sequence ensures your camera connects directly through Apple's ecosystem rather than the manufacturer's cloud first, a critical distinction for true privacy. If you'd prefer a dedicated handheld monitor instead of an app-based setup, compare options in our standalone vs app baby monitors explainer. Many parents mistakenly set up through the camera's app first, unwittingly enabling cloud storage with the manufacturer.
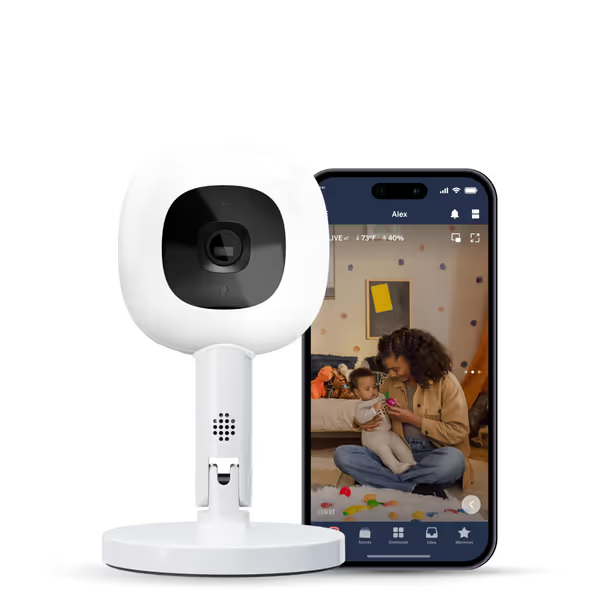
Nanit Pro Smart Baby Monitor
Privacy-focused 1080p Wi-Fi monitor with sleep tracking for peace of mind.
$167.66
Video Quality1080p HD
Video Quality1080p HD
Pros
Clear 1080p HD video and reliable connectivity.
Sensor-free sleep and breathing motion tracking.
256-bit AES encryption & 2-factor authentication.
Cons
Reports of functionality issues within 6 months.
Customers find the baby monitor's camera quality excellent, with clear video and good connectivity, and appreciate its ease of use with a user-friendly app. However, the functionality receives mixed feedback, with several customers reporting it stops working after less than 6 months. Moreover, customers express concerns about connectivity issues, sturdiness, and camera stability, noting the stand is flimsy and the camera frequently falls off. Additionally, customers consider the product expensive and not worth the money.
Customers find the baby monitor's camera quality excellent, with clear video and good connectivity, and appreciate its ease of use with a user-friendly app. However, the functionality receives mixed feedback, with several customers reporting it stops working after less than 6 months. Moreover, customers express concerns about connectivity issues, sturdiness, and camera stability, noting the stand is flimsy and the camera frequently falls off. Additionally, customers consider the product expensive and not worth the money.
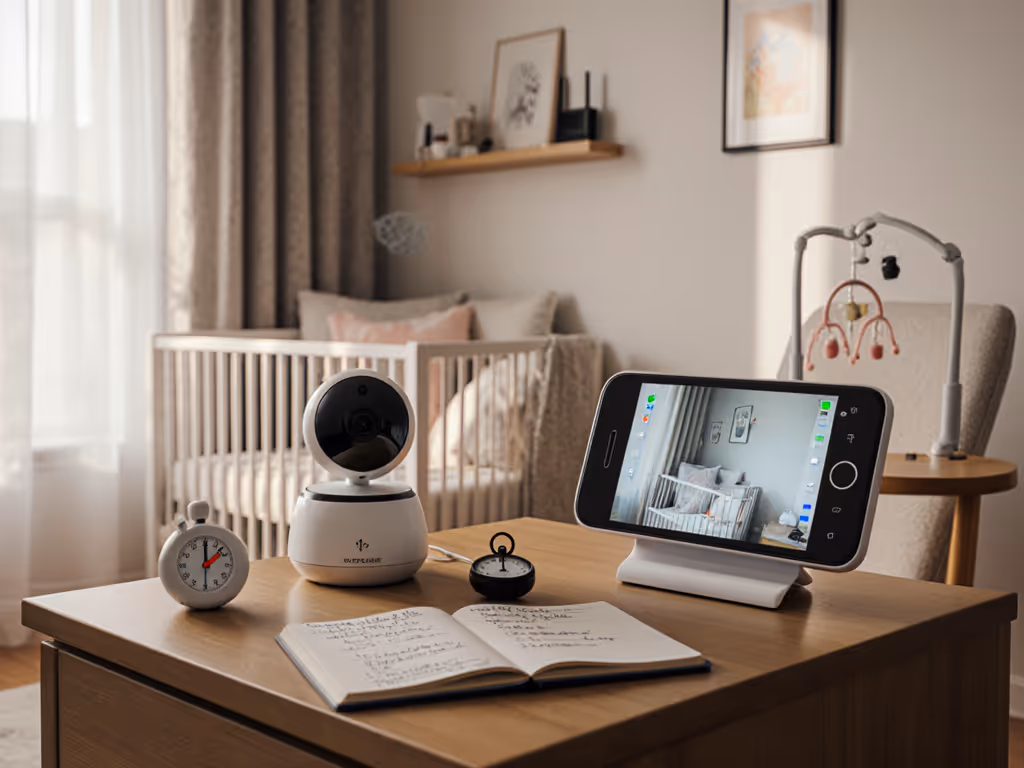
Step 4: Configure Privacy-Centric Notifications
Notification settings make or break nighttime reliability:
- In Home app > select camera > tap (i) > Notifications
- Enable "People Detected" if using HomeKit Secure Video
- Set sensitivity to "Frequent" for baby monitoring
- Disable "Audio Notifications" if using white noise machines
- Create a "Baby Monitoring" focus mode that silences all other notifications
This careful tuning addresses the common pain point of missed cries or false alarms waking exhausted parents. Caregiver handoff tips I've shared with countless families include documenting these specific notification settings so everyone monitoring understands what alerts to expect.
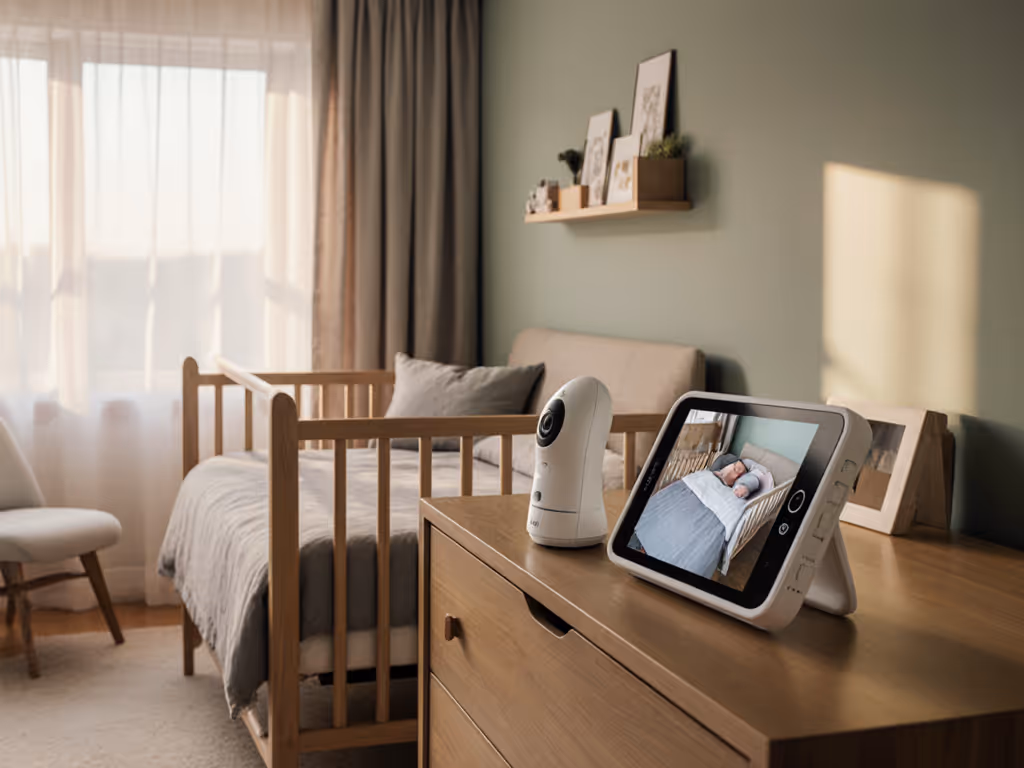
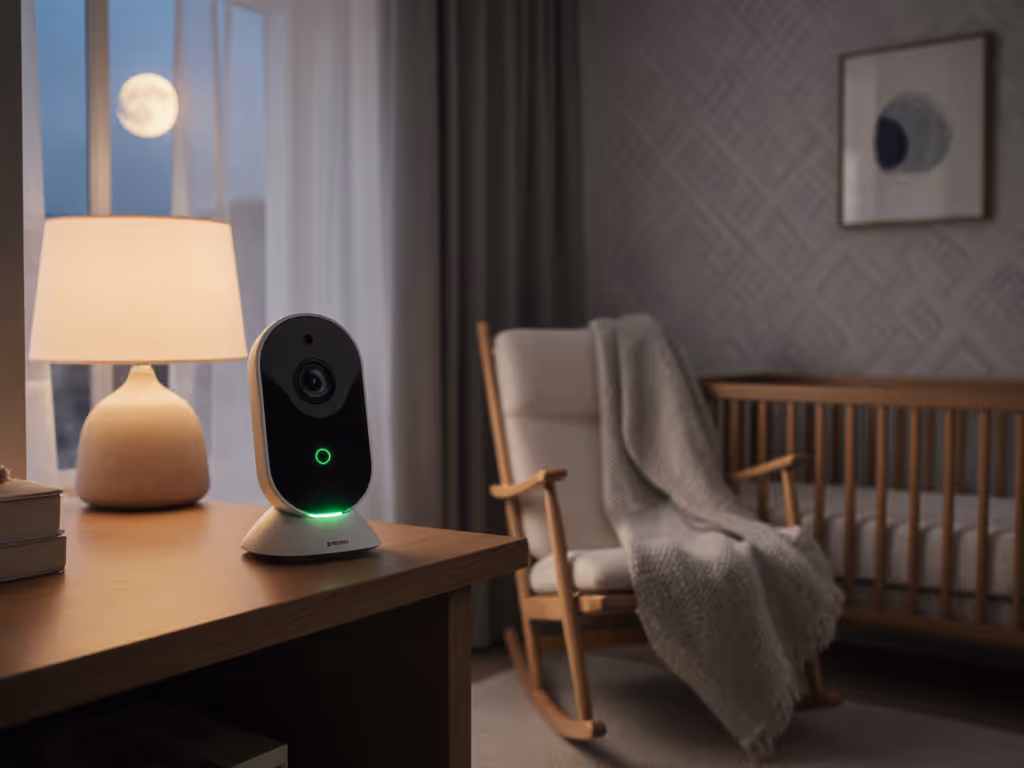
Step 5: Night Vision and Low-Light Optimization
Visibility during nighttime checks is non-negotiable:
- In the Home app, select your camera > Settings > Video Settings
- Enable "Night Vision" mode
- Adjust "Brightness" to minimum effective level (reduces red glow)
- Test in complete darkness to verify clear view of chest movement
- Consider adding a small night light opposite the camera to reduce glare
I've seen too many parents struggle with grainy night vision that hides breathing patterns, critical information when monitoring sleeping infants. For tuning tips and real examples, read our baby monitor night vision guide. The right settings ensure you see what matters without disturbing sleep with bright IR lights.
Maintaining Your Privacy-First System
Treat your secure Apple baby monitor setup like any critical household system:
- Weekly: Glance at the camera status light to confirm it's green (secure connection)
- Monthly: Check for camera firmware updates through the Home app
- During handoffs: Leave a two-line note with current settings: "Nursery cam: Night vision on, alerts sensitive"
- When traveling: Use Apple's "Share Access" feature rather than giving out your Apple ID
This repeatable routine reduces cognitive load during already stressful transitions. Remember the family juggling sleep training and shift work who kept missing alerts? Their breakthrough came not from buying new equipment but from establishing these simple maintenance habits.
Final Thoughts: Your Peace of Mind Setup
True peace of mind comes not from the most expensive monitor, but from the one that integrates seamlessly into your nighttime routine without demanding constant attention. Still deciding between HomeKit and a non-WiFi alternative? Our WiFi vs non-WiFi comparison can help you choose. An Apple HomeKit baby monitor configured with privacy as the foundation gives you that elusive reliability, with no subscription fees, no third-party data sharing, and no 3 a.m. panic about whether your feed is secure.
As you finalize your setup, ask yourself: "If I'm woken at 3 a.m., can I check the feed without thinking about the technology?" If the answer is yes, you've achieved the gold standard of privacy-focused baby monitoring. Take that extra minute to memorize where the mute button lives or how to quickly pull up the camera view. These small steps build incredible confidence over sleepless nights.
Ready to dive deeper into optimizing your specific camera model? Check Apple's official Support page for detailed HomeKit Secure Video setup instructions tailored to your device. Your future well-rested self will thank you.
Related Articles