Home Daycare Monitors: Compliance & Multi-Child Guide
By Nora Jensen • 15th Feb
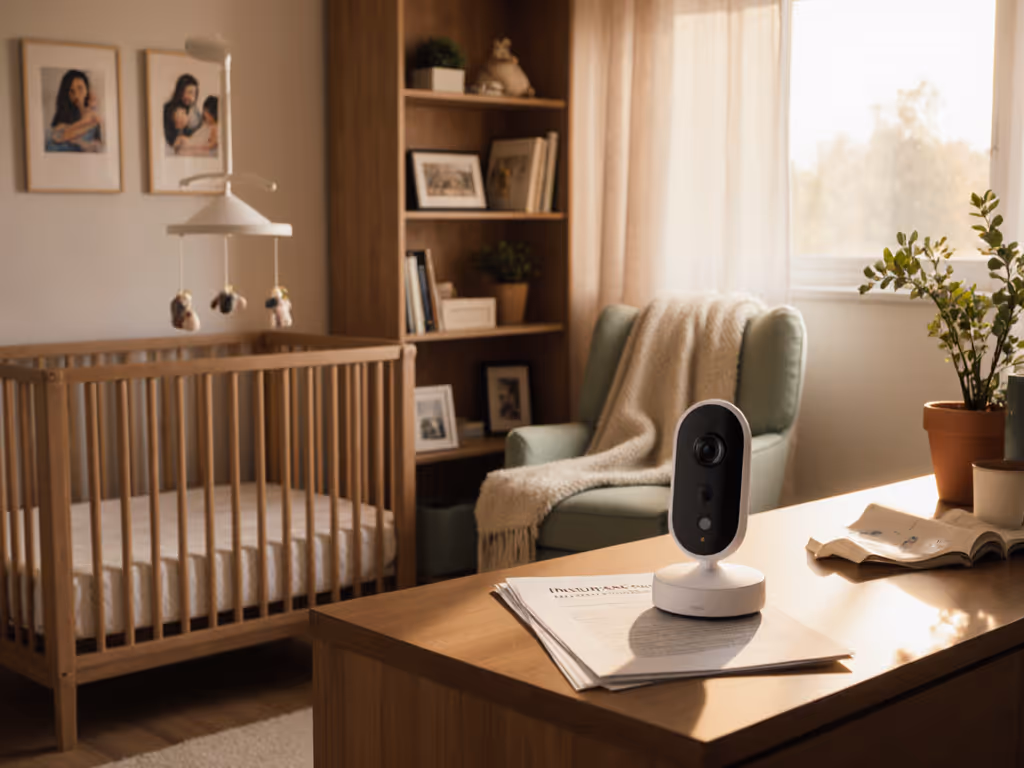
Home daycare baby monitor systems and small business baby monitoring solutions require a fundamentally different approach than single-nursery setups. You're not just watching one child through a doorway, you're managing sight lines across multiple rooms, coordinating handoffs between caregivers, building audit trails for regulatory compliance, and often contending with older, architecturally challenging homes where a single monitor can't see everything. This guide cuts through the noise and helps you map your space first, then choose the right system.
FAQ: Core Monitoring Architecture Questions
What's the difference between "home daycare monitors" and regular baby monitors?
Regular baby monitors assume one parent, one nursery, one sleepy toddler. Home daycare monitoring is a small business problem. You need simultaneous visibility of multiple children across different rooms (maybe a nap room and a play area), clear handoff protocols when a parent picks up or a co-provider takes over, and documentation that proves you had eyes on each child during care hours. You're also balancing privacy (parents' expectations) with compliance (state licensing rules that vary widely; some require recording, others forbid it without written consent).
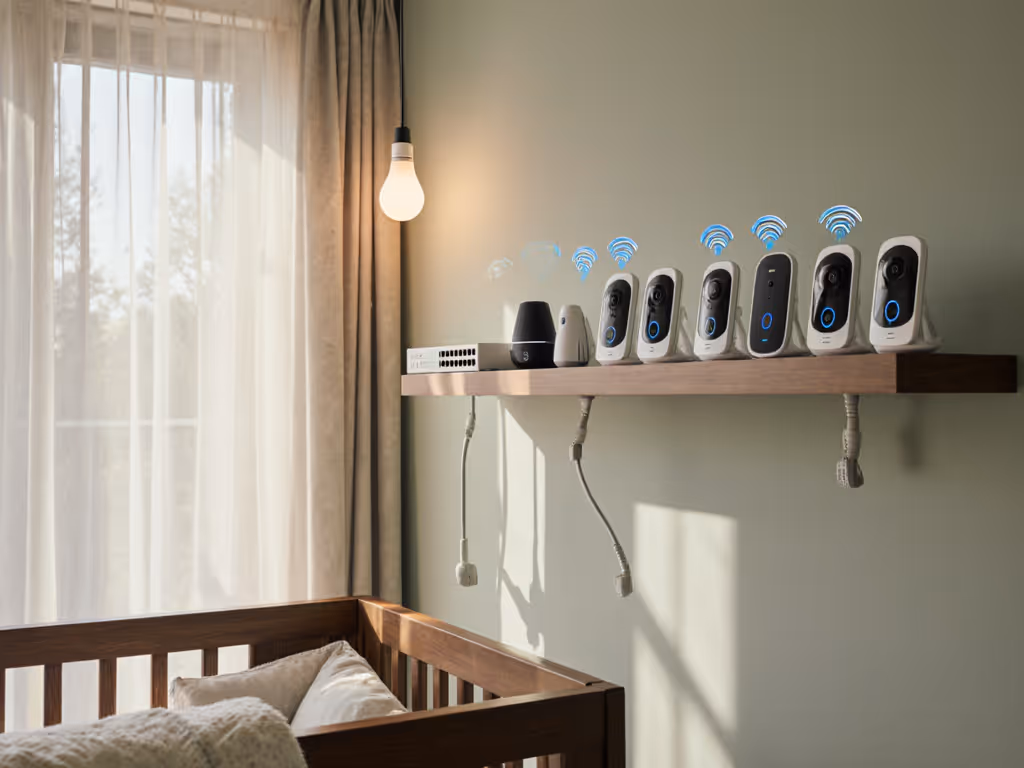
The technical implication: a closed-loop dual- or tri-camera system beats a single WiFi monitor. Why? Because you control the entire picture locally, you don't leak footage to the cloud by default, and you avoid the latency and bandwidth drain of juggling three children's streams through your home WiFi.
Do I need WiFi, a closed-loop system, or both?
For home daycare, closed-loop with a robust parent unit is your foundation. Closed-loop means the cameras and parent handset talk directly to each other using a private, local frequency (often FHSS or DECT). No internet required, no cloud account, no third-party access.
WiFi is useful for one specific scenario: when you want remote access so you can check in from your car during a provider switch or let a substitute caregiver monitor from another part of the house. But don't let WiFi become your only link. I've worked in dense urban buildings where a neighbor's mesh system, a microwave, and a baby sound machine created a 2.4 GHz traffic jam. The Nanit Pro and Owlet Dream Duo 2 rely on WiFi and app notifications, powerful if your network is clean, but vulnerable if it isn't.
Instead, choose a primary closed-loop monitor with optional WiFi as a secondary feature. The Babysense MaxView system excels here: it operates on a private closed loop for day-to-day monitoring of both rooms, but you can also access it via app if you step outside briefly. This layering is what reliable multi-child daycare monitoring looks like.
How do I map my home daycare space to pick the right camera count and placement?
Start with a floor-plan overlay. For a deeper walkthrough of material impacts and placement, see our signal range by home construction guide. Sketch your daycare rooms, doorways, and any thick walls or unusual materials (foil-backed insulation, metal studs, brick). Ask yourself:
- How many distinct sleep/activity areas do I need to see at once? (Nap room + playroom = two cameras; sleeping twins in one room = one camera with zoom, or two for better angles.)
- Are these rooms on the same floor or separated vertically?
- Which walls are load-bearing (often brick or plaster) versus partition walls?
- Are there metal ductwork, metal studs, or wiring conduits that could reflect or attenuate signal?
Once you have this, place your material callouts: mark where foil-backed insulation, brick, or dense wood framing sits. These dramatically shift signal paths. I once worked with a narrow townhouse provider who had foil-backed insulation in the nap room. Her older closed-loop monitor kept stuttering whenever parents left a handoff. We didn't solve it by buying a "stronger" unit. We shifted the parent unit one room closer, angled the base station away from metal ducts, and ran a short Ethernet cable to a tablet in the entry hall for local viewing during pickups. Offline, stable, and finally reliable sight lines. The lesson: materials shape the problem more than wattage shapes the solution.
What's the compliance angle? Do I need to record?
Compliance varies sharply by jurisdiction. For retention policies and privacy trade-offs, see our baby monitor data retention guide. Some U.S. states (and EU regulations like GDPR) require written consent from all parents before any recording. Others require cameras but forbid cloud backup. A few require continuous recording for licensing.
Your move: confirm your local rules first. Then choose a monitor that matches:
- Local-only storage if you need video evidence: a closed-loop system with an optional SD card slot for the camera (not the cloud).
- No mandatory recording if consent is hard to get: a closed-loop system with live viewing only, no archive.
- Clear status indicators so parents see when recording is on (audible beep, LED, or app notification). This builds trust and ensures you can't accidentally film a parent's private conversation during pickup.
The Babysense MaxView and HelloBaby monitors both support local recording via SD card and offer clear setup options (no sneaky cloud defaults). Contrast this with the Nanit Pro, which emphasizes cloud-based analytics and sleep trends; if your jurisdiction requires opt-in recording and full parent transparency, Nanit's architecture becomes a headache.
How many cameras do I really need for multiple children?
This depends on your layout and your need for simultaneous oversight:
- Two children in one room (twins, siblings at nap time): One camera with pan/tilt/zoom if you want flexible angles, or two fixed cameras for full coverage without moving.
- Two children in separate rooms (nap + playroom): Two cameras, ideally split-screen on the parent unit so you don't have to toggle between feeds.
- Three or more children spread across rooms: Three cameras with intelligent cycling or split-screen. The Babysense MaxView's split-screen is the gold standard here, you see both cameras simultaneously, which is critical during nap transitions when one child might wake while another is settling.
A common mistake: buying a WiFi monitor "because I can add more cameras later." In practice, adding a second WiFi camera often means more bandwidth drain, more reconnection headaches, and more latency. Place first, purchase second. Buy a closed-loop system designed for multi-camera from the start.
What about night vision, and can I trust the temperature readings?
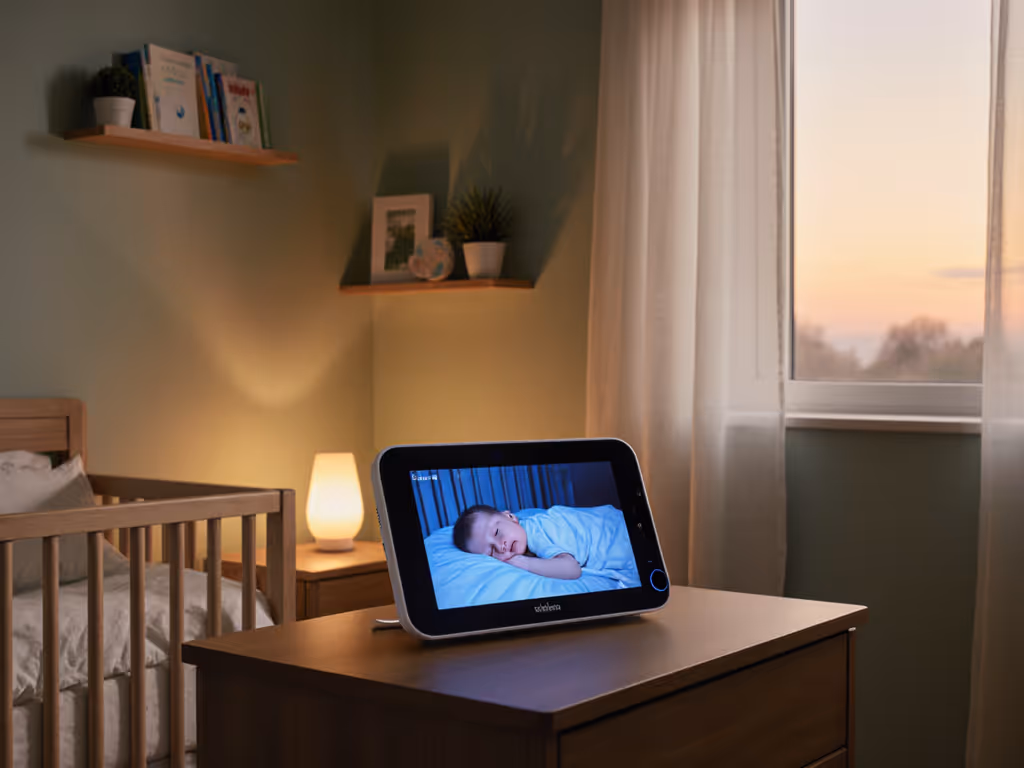
Night vision quality varies wildly. You want true infrared with minimal glare and washout, so you can see chest rise, face position, and whether a child is actually crying or self-soothing.
The Eufy S340 earned top marks in lab testing for video clarity and resolution of detail, its night vision doesn't wash out even in pitch-black rooms, which matters when you're trying to confirm a child is breathing normally, not just sleeping.
On temperature and humidity: treat these as advisory, not diagnostic. The Owlet Dream Duo 2 and Nanit Pro both offer environmental sensors, but a 2-5°F variance from a standalone thermometer is typical (sensor placement near outlets or vents can skew readings). For home daycare, these alerts are nice-to-haves; they might flag a room that's too warm during a heat wave, but don't rely on them to replace a good-quality standalone thermometer or a parent's intuition.
What about battery life and emergency failover?
Home daycare caregivers are on their feet all day. The parent unit needs to last a full 8- to 10-hour shift without dying: For practical tips and model differences, see our battery life guide.
- HelloBaby: 30 hours in audio-only ECO mode, even longer in low-video mode. This is gold for all-day care.
- Babysense MaxView: Reliable multi-day battery life in typical use, designed for durability over 3+ years.
- Owlet and Nanit: Rely heavily on WiFi and app notifications. If your WiFi hiccups, notifications lag or fail entirely.
For failover: if a child's nap schedule means you need continuous monitoring and your WiFi is unreliable, a closed-loop system's local alerting (on-unit buzzer or VOX) keeps you in the game. WiFi-only monitors don't.
How do I handle privacy and multi-caregiver access?
If you employ a co-provider or rotate substitute caregivers, avoid monitors that require sharing a single parent account or cloud login. That's a privacy and security liability.
Better approach:
- Use a closed-loop monitor with a second parent unit. Both caregivers get independent hardware; no shared passwords, no account linking.
- If remote access is necessary (e.g., a substitute needs to check in from the waiting room), choose a system that supports guest access without sharing your main login. Some WiFi monitors offer this; most don't.
- Test your multi-caregiver workflow before the substitute's first day. You don't want to troubleshoot camera handoff when you're already stressed.
For handoff compliance, keep a simple log: who monitored what rooms and when. This is your liability shield if a parent later questions whether their child was always supervised. The monitor is the tool; the log is the proof.
FAQ: Placement & Material Heuristics
My home daycare is in a dense apartment building. Will interference ruin a closed-loop monitor?
Not if you're deliberate about placement. Closed-loop FHSS or DECT systems are much more resistant to WiFi interference than you'd think. The key: don't place the base station next to your router, mesh extenders, or 2.4 GHz baby monitors from neighbors (if they bleed through walls).
Placement heuristics:
- Position the base station in a central location, away from exterior walls (where neighbor networks are strongest).
- Keep it 2-3 feet away from your WiFi router, even though you're using a closed-loop link. The radio environment still matters.
- Avoid placing it near large metal objects (pipes, HVAC ducts) or on a metal shelf.
- If you have one camera two floors apart, place the base station on the midpoint floor for equal signal strength.
I've tested closed-loop monitors in older urban condos with brick between units and aluminum framing, they outperformed WiFi-only alternatives by a wide margin. The difference: robust frequency-hopping protocols bounce around interference; WiFi pounds the same channel until the connection breaks.
What if my daycare rooms are separated by thick plaster or brick walls?
Older homes and renovated brownstones often have 4-6 inch plaster or brick walls. These attenuate signal by 10-30 dB, depending on density and what's embedded inside (metal lath, hidden ducts).
Before/after maps help here. Measure the distance and wall count between your cameras and base station. If two rooms are 40 feet apart through a brick wall, expect a 40-50 foot usable range instead of the spec sheet's "100+ feet." This is why manufacturer range claims are almost always divorced from reality in older homes.
Solutions:
- Buy a system with two parent units so each caregiver can hold one, positioned closer to their rooms.
- Use an optional WiFi bridge (if the monitor supports it) to relay signal through one room's router, then back to the camera. This feels inelegant but works.
- Accept a dual-monitor setup: a closed-loop system in the main daycare room plus a second, simpler audio monitor in the nap room, if visual coverage of that room is less critical.
Should I worry about foil-backed insulation in newer homes?
Yes. Foil-backed insulation is excellent for energy efficiency and terrible for radio signals. It reflects and absorbs RF energy like a mirror. If your home was retrofitted with spray foam + foil in the walls around the nap room, signal penetration drops sharply.
This is where that townhouse story matters: I watched a provider buy a "premium" WiFi monitor, hang it on the wall with foil-backed insulation behind it, and watch it drop connection every time the family's oven or microwave ran. The camera wasn't "weak." The wall was a reflector. We moved the camera to the opposite wall (which had standard drywall), angled the base station toward the doorway instead of the wall, and suddenly it worked reliably. Material callouts saved the setup.
FAQ: Feature & Workflow Reality Checks
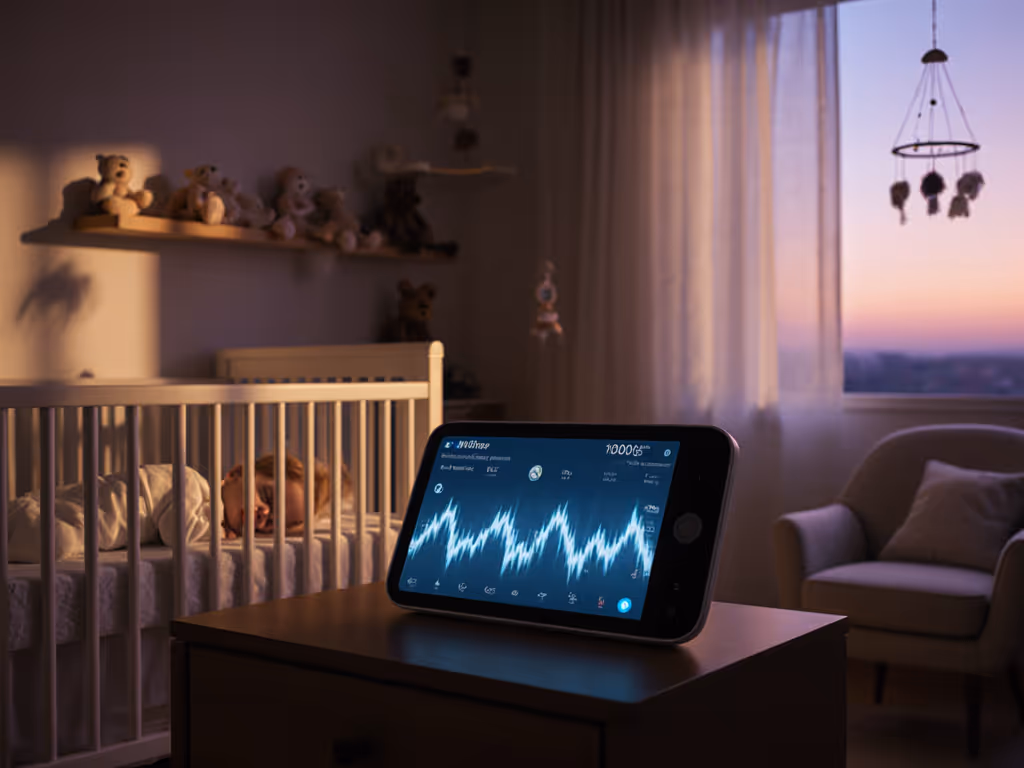
Can I rely on sound detection (VOX) to alert me without false alarms?
No system nails this perfectly. VOX thresholds vary, and what you need depends on your environment:
- In a quiet home with one child, a medium VOX setting works well.
- In a daycare with two toddlers playing, white noise machines, and activity, even "sensitive" VOX triggers constantly or misses crying because the background noise level is already high.
Your move: Test the VOX on the specific monitor you're considering. If the manufacturer offers a demo unit or a trial, use it. Set it to your daycare's actual noise level for a full day. Otherwise, rely on visual confirmation (glance at the parent unit every 20-30 minutes, or configure a live-view app on a tablet as a secondary check). This is more reliable than alert fatigue.
Do I need split-screen or camera switching?
Split-screen (seeing both cameras simultaneously) is almost always better for home daycare.
Why? Scenario: one child is napping in the crib while another is playing on a mat in the next room. A system that forces you to switch between cameras means you have a blind spot every time you toggle. With split-screen, you see both spaces at once, which is especially critical during the first minutes of a nap when a child might roll or become distressed.
The Babysense MaxView's split-screen is designed exactly for this workflow. For side-by-side performance, see our dual-camera split-screen comparison. The HelloBaby requires switching between cameras (a minor friction point but notable for all-day supervision). If multi-room visibility is part of your daily routine, split-screen justifies the slight premium.
Should I record locally, and how do I store it legally?
Local recording (to an SD card in the camera) is your compliance ally:
- No cloud account, no third-party data sharing, which eliminates a major privacy vector.
- You own the footage and can delete it on your schedule (often 7-14 days after a parent collects their child, per state law).
- Admissible in disputes: if a parent questions supervision or an incident occurs, you have a local, tamper-resistant record.
But storage and retention vary by jurisdiction. Confirm your state's rules before enabling recording. Some require parental consent per camera (not just once). Others require encryption or specific data-destruction timelines. Germany's GDPR, for example, severely restricts retention of children's footage without explicit, written consent from every parent, and even then, you must delete it within days of the child leaving your care.
Set up a simple system: If recording is allowed and required, enable on-camera SD card storage with a written parent notice posted at entry. Disable recording during parent pickup/dropoff conversations (if your system supports it). Review footage only if needed (nap checks, dispute resolution). This keeps you compliant and builds parent trust.
Recommended Setups by Daycare Size & Layout
Small Home Daycare (1-2 Children, One Room)
A single closed-loop camera with a robust parent unit is enough. The HelloBaby dual-camera system works if you need flexibility for future expansion, and the 30-hour battery life handles a full day. For a strict budget-first approach, the VTech VM819 (though typically a single camera) offers reliable audio-only monitoring with excellent battery life, paired with a simple video camera in a second unit if needed.
Medium Home Daycare (3-4 Children, Two Rooms)
The Babysense MaxView with dual motorized cameras and split-screen becomes essential. It's designed for this exact scenario, multi-room, multi-child, all on a closed loop. Optional WiFi access lets you check in during transitions. This is where place first, purchase second pays off: before buying, sketch your two rooms, confirm wall types, and test placement with a friend's spare monitor if possible.
Larger or Multi-Floor Setup (5+ Children)
Consider a three-camera closed-loop system or a hybrid: primary closed-loop for active rooms, secondary simple audio monitor for less-trafficked areas. The Eufy S340, though primarily positioned as a single-camera WiFi monitor, performs well for video clarity if you pair it with a secondary closed-loop unit. Avoid the temptation to stack five WiFi cameras; bandwidth and latency will betray you.
Summary & Final Verdict
Home daycare monitoring is not just "multiple baby monitors in one house." It's a small-business oversight system that must balance real-time sight lines, regulatory compliance, caregiver workflow, and parent privacy expectations.
Your decision framework:
- Confirm your jurisdiction's recording and monitoring rules before buying anything.
- Map your home daycare spaces and note wall materials, floor levels, and distance between rooms.
- Choose a closed-loop system first (FHSS or DECT), with optional WiFi as a secondary feature, not the foundation.
- Buy enough cameras to see all active spaces simultaneously (split-screen or independent units); avoid single-camera setups that force switching.
- Test placement and signal in your actual home, especially if walls are brick, plaster, or foil-backed insulation.
- Enable local-only recording if allowed and required, with clear parent notices and a retention schedule that matches your state's rules.
- Train all caregivers on the system before the first day; practice handoffs and emergency situations.
The non-negotiable baseline: a monitor that works reliably across your layout without dropping connection during nap transitions, that gives you accurate real-time video and audio, and that doesn't leak footage to the cloud or third parties without your knowledge. If a system can't do these three things, no amount of "smart" features or sleep analytics will matter.
Place first, purchase second. Map the home, then pick the monitor. This principle, rooted in understanding your specific layout and materials rather than chasing specs, is what separates a daycare provider who has reliable monitoring for three years from one who replaces their system every year because it never worked right in their space.
Your daily peace of mind depends on it.